
In my previous tutorial, I showed you how to register libraries in Application Code Manager. If you missed it, you can find that tutorial here.
In this one, I’ll show you how to create a project in ACM. A project is the container that will hold all of the library objects that we instantiate and eventually generate a Studio 5000 Logix Designer project from.
To create the project, click the New button in ACM to open the Object Configuration Wizard.

Click the + icon to expand the Project category.

There is only one Project object available. Select it and click Next.

Give your project a meaningful name and description, then click Finish.

The project is created, and you’re ready to start adding objects to it.
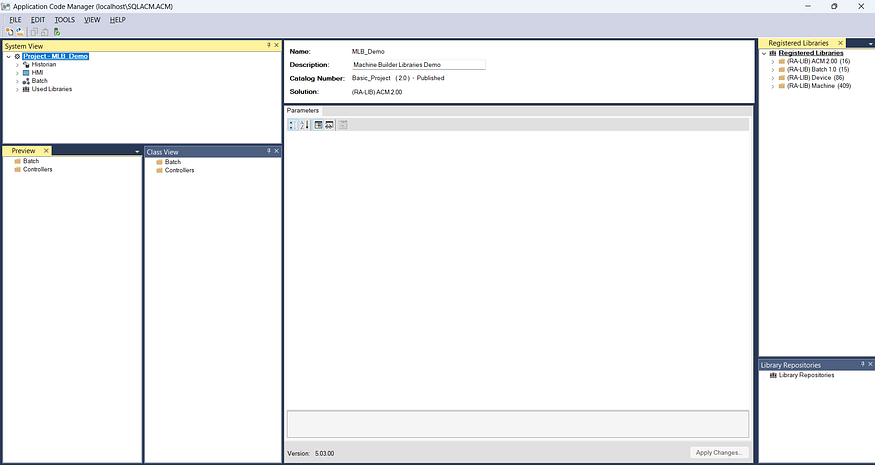
In this tutorial, you saw how to create a new project in Application Code Manager.
The next step is to add a controller to the project. I’ll show you how to do that in the next tutorial. You can find it here.
Get new content delivered straight to your inbox:
.png)
.png)