In FactoryTalk Optix, a Navigation Panel is the quickest and easiest way to build a navigation system.
In this tutorial, I will show you how to:
You can grab the project that I use in this tutorial here:
https://github.com/kencbourke/ft-optix-navigation-panel
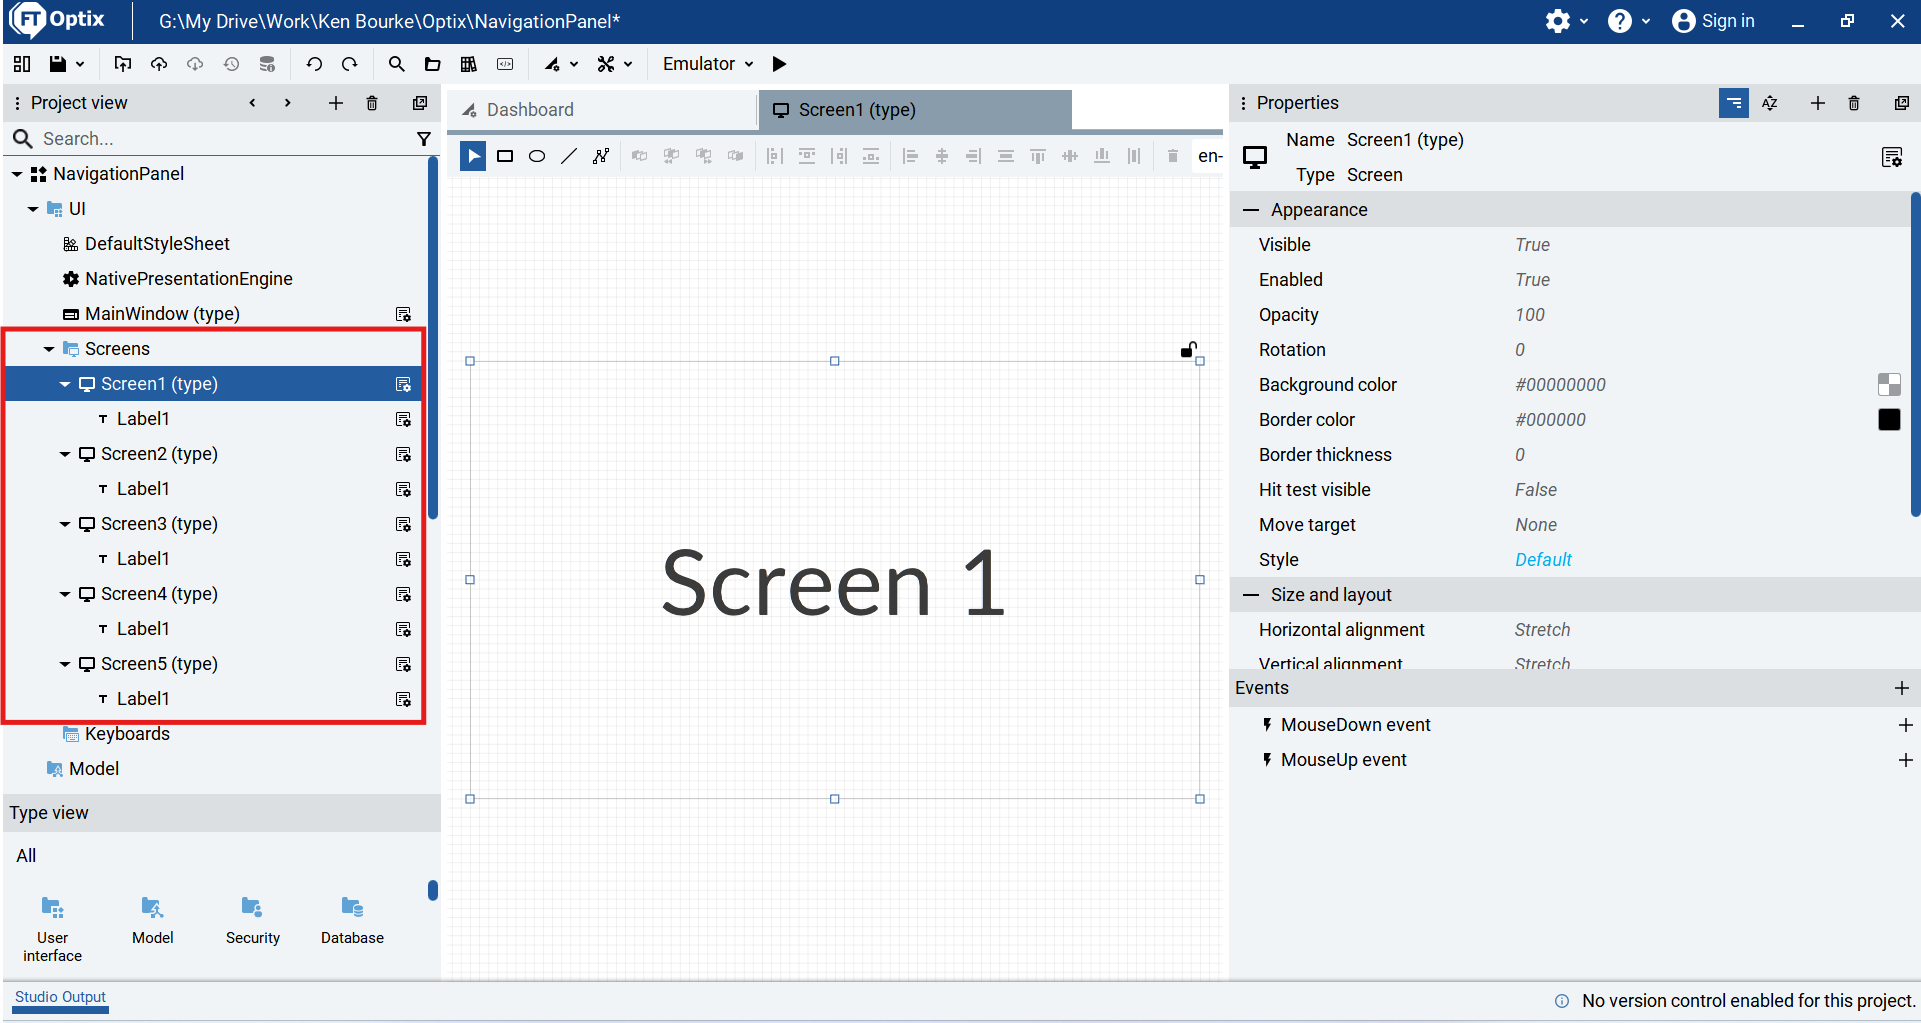
For this demonstration, I have created a new project in FactoryTalk Optix and added five screens with labels to the project.
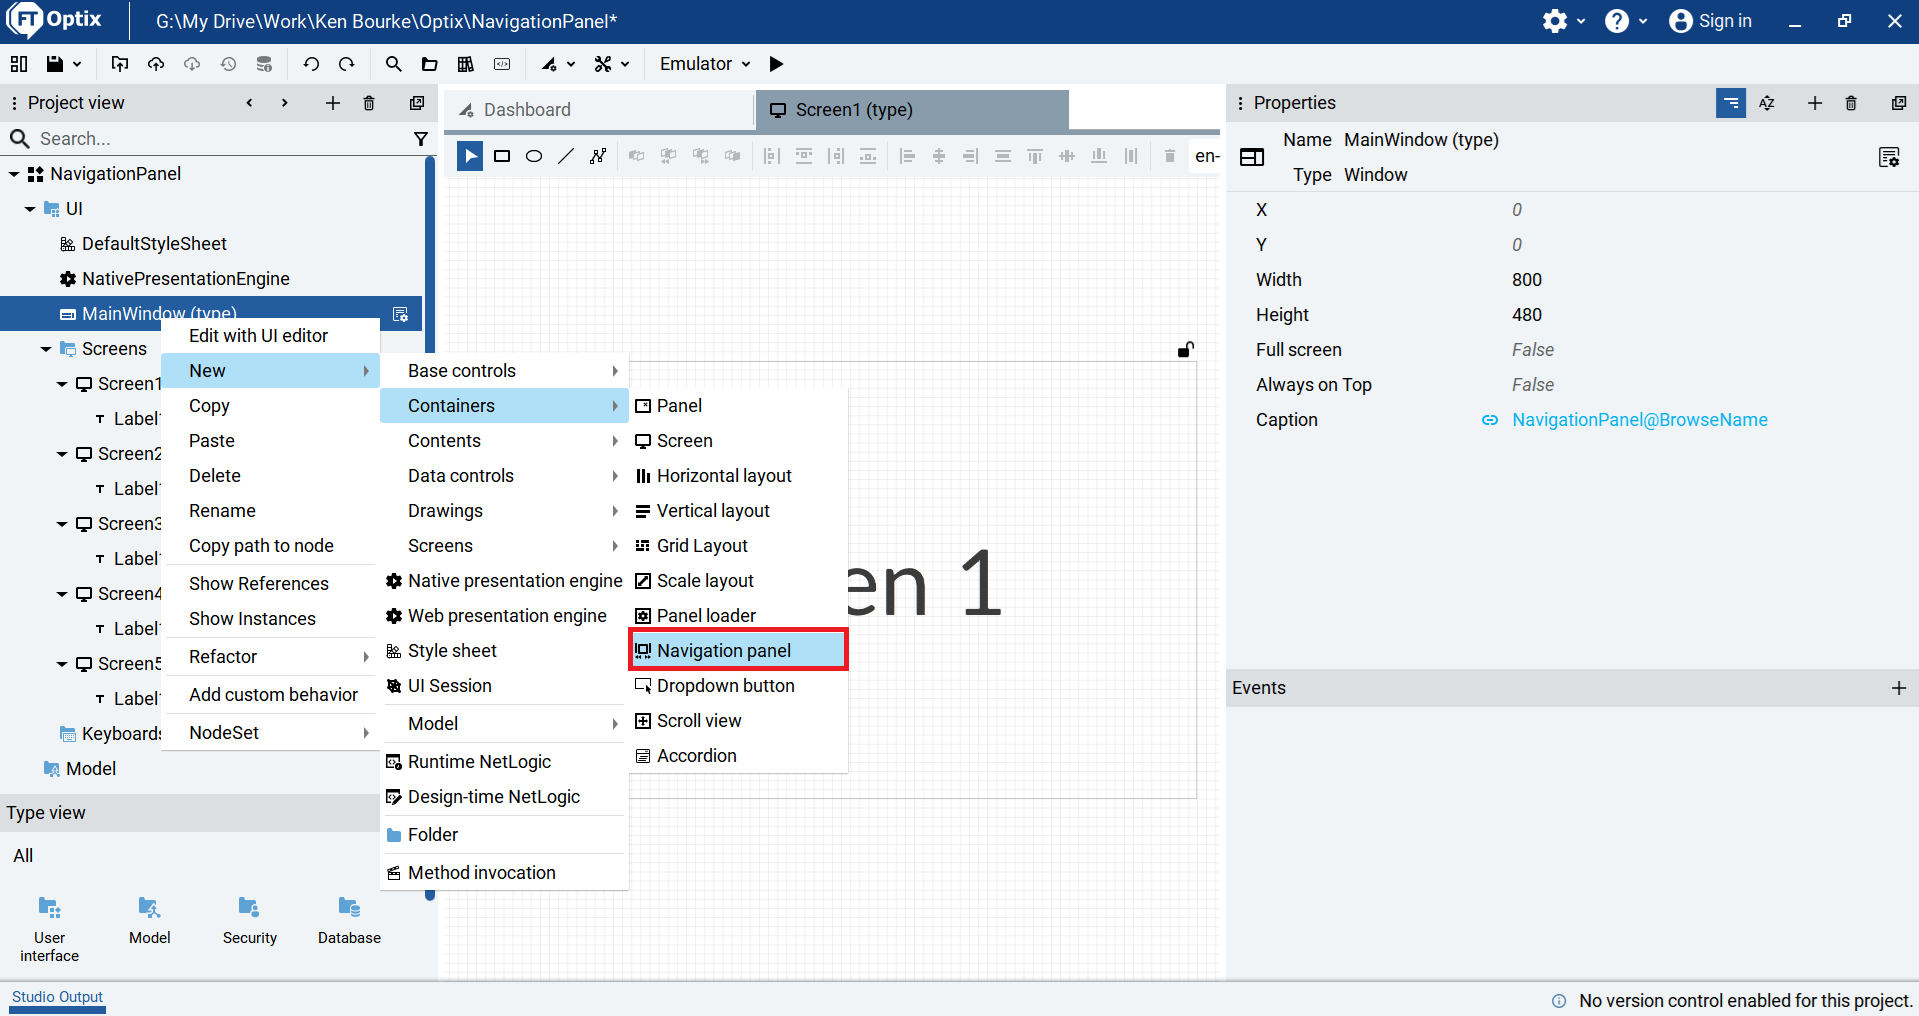
To build my navigation system, I add a Navigation Panel to the MainWindow by right-clicking on the MainWindow and selecting New > Containers > Navigation Panel.
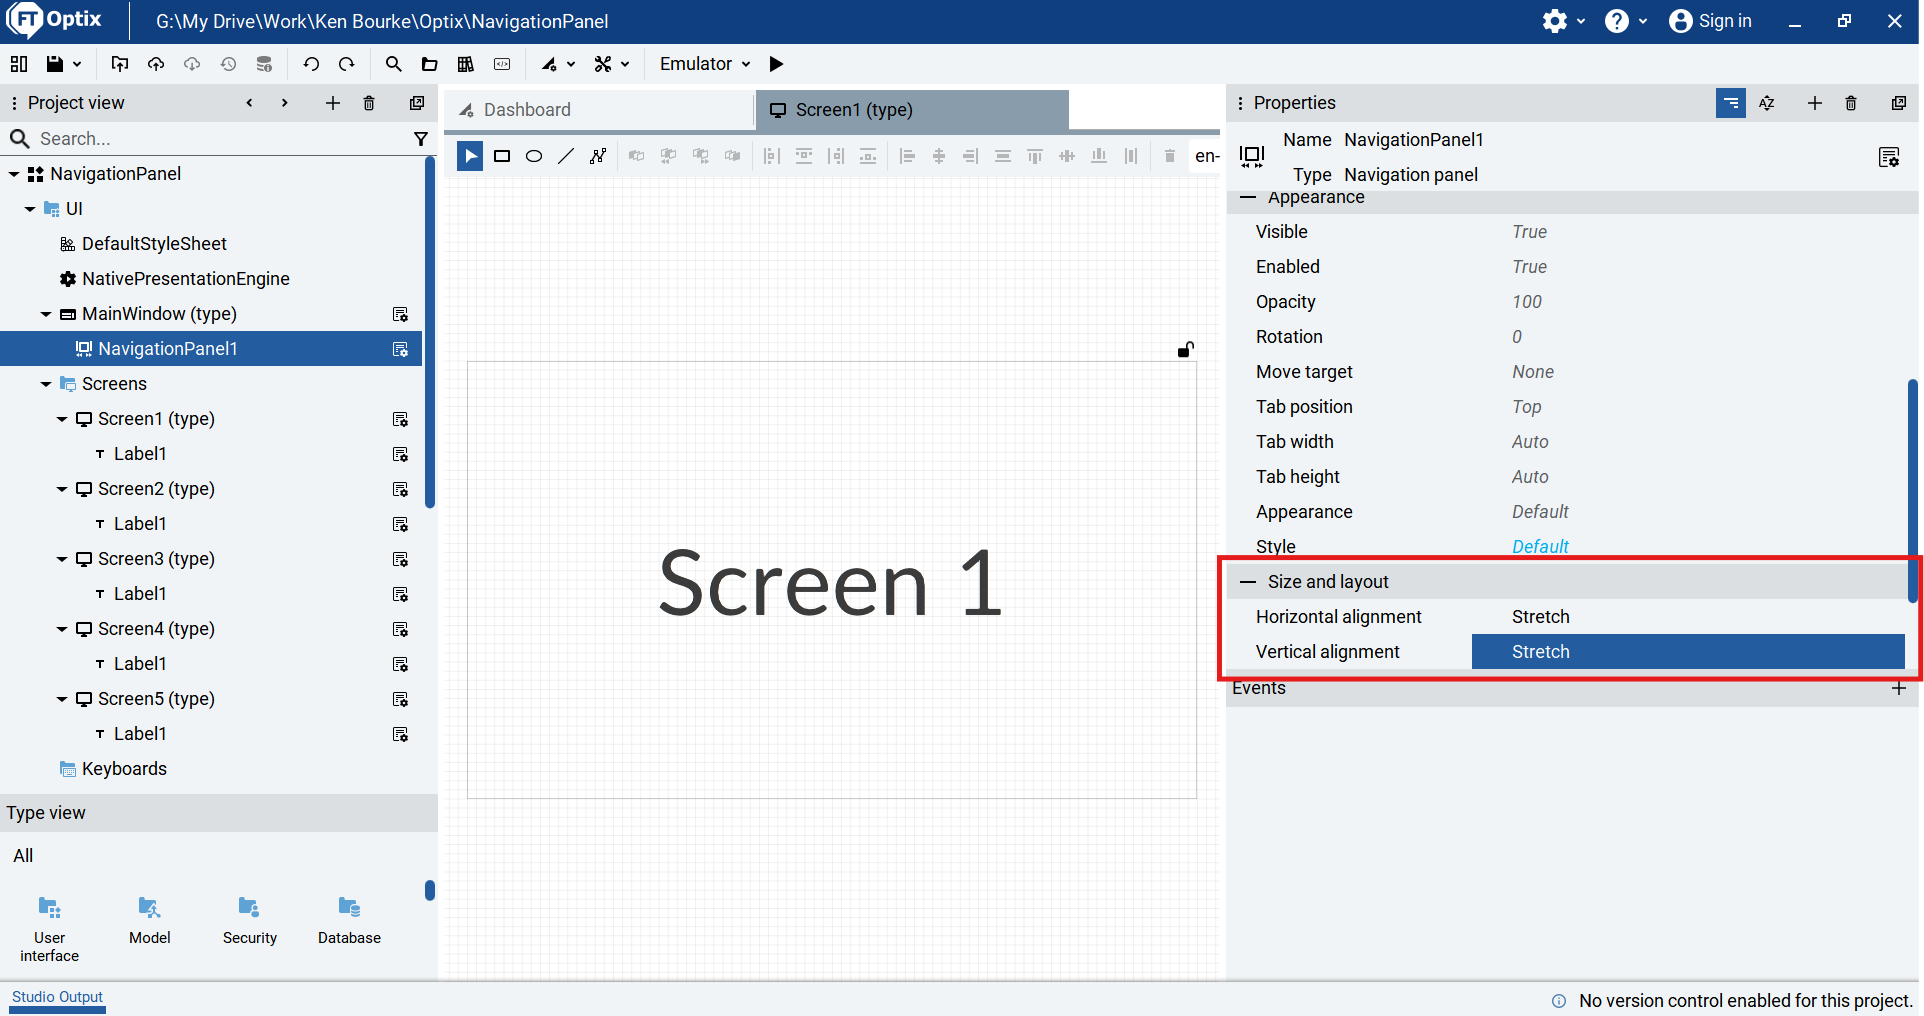
In the properties pane of the Navigation Panel, I set the Vertical and Horizontal Alignment properties of the Navigation Panel to Stretch. This ensures that the Navigation Panel takes up the full Main Window.
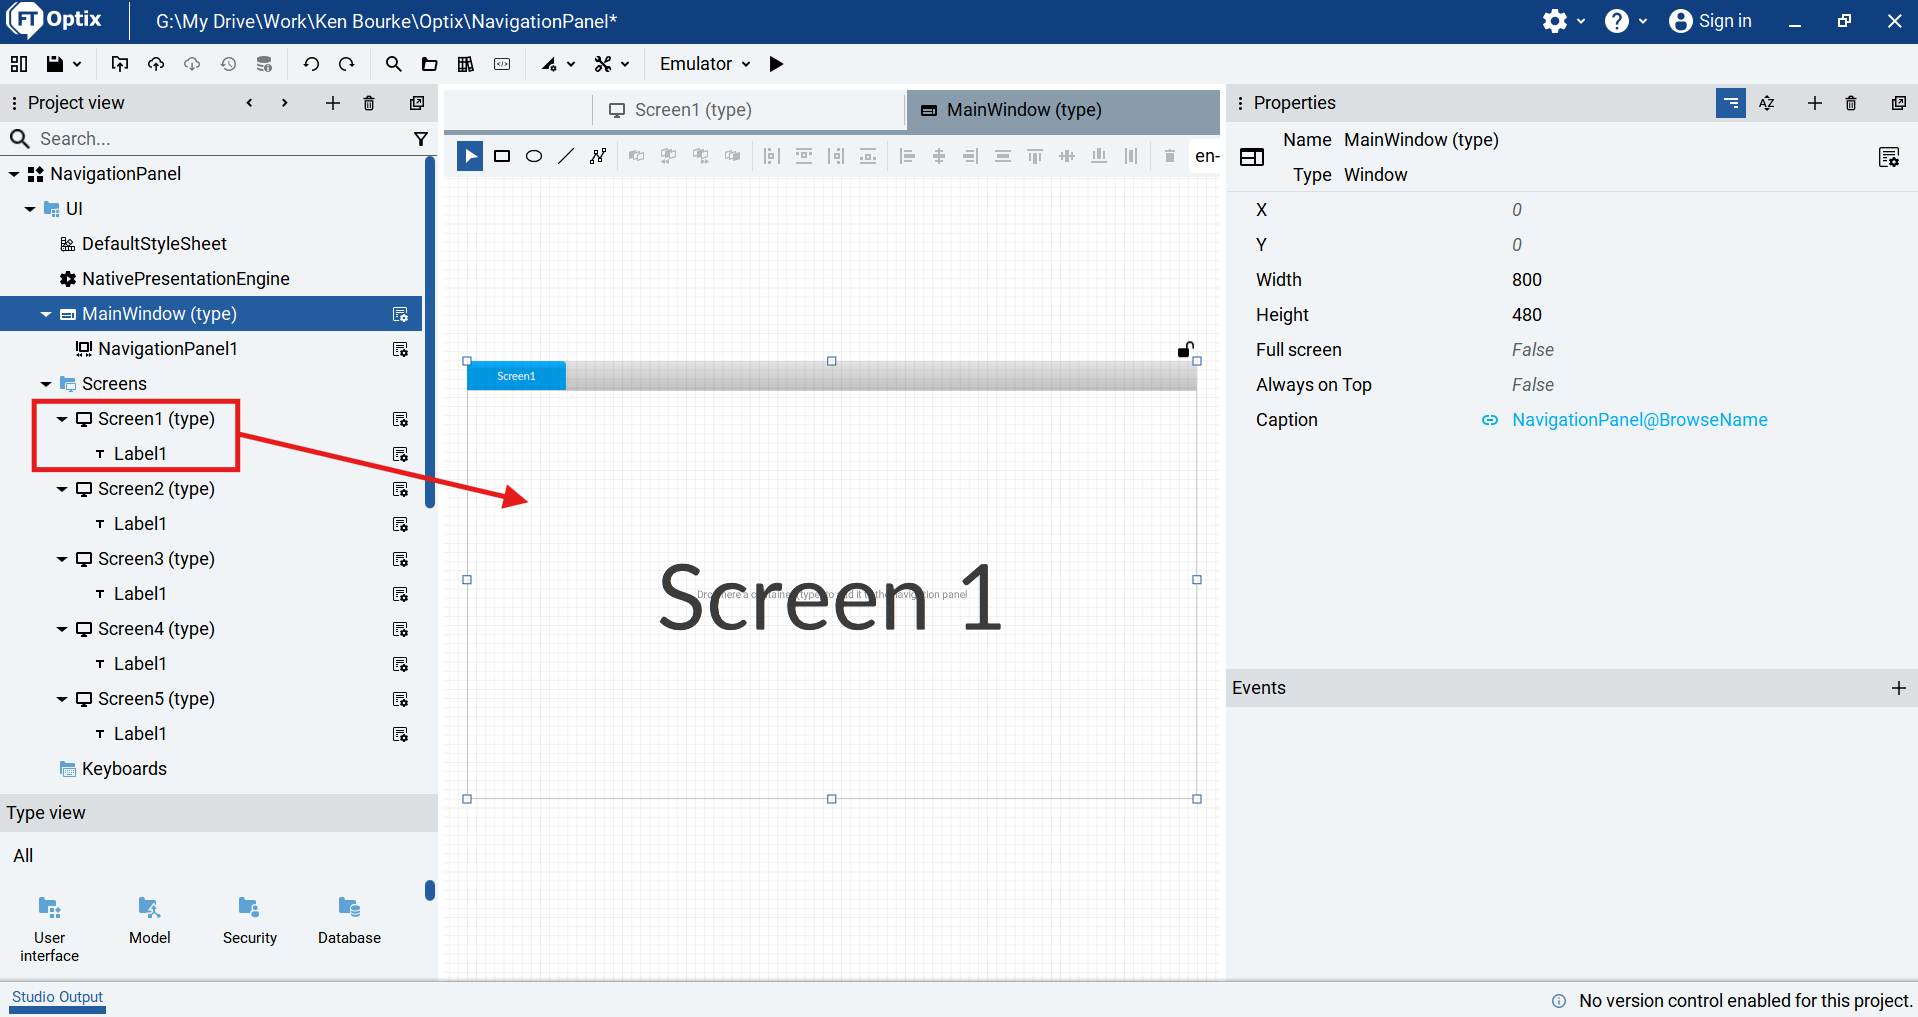
Next, I open the MainWindow and add tabs to the Navigation Panel by dragging screens from the Project View tree and dropping them on the Navigation Panel. Each time I drop a screen on the panel, a new tab is automatically created for that screen.
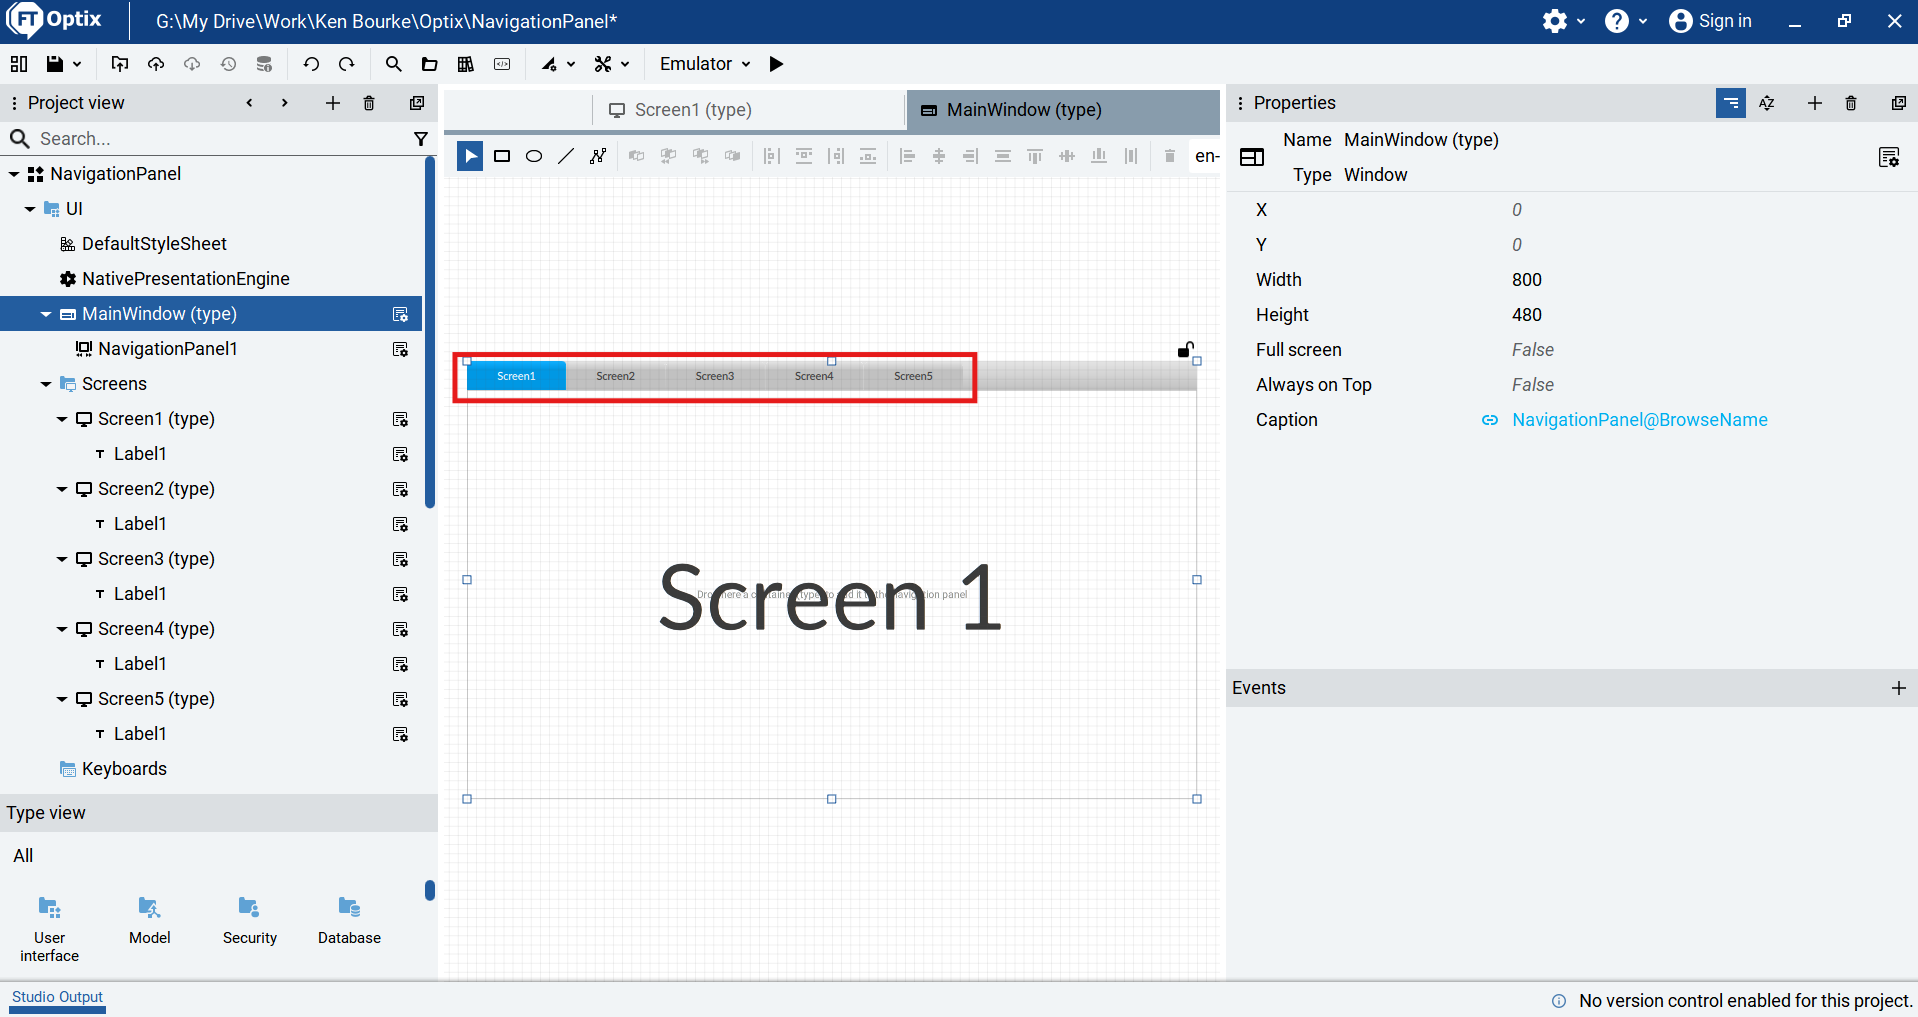
I repeat this process to build out the navigation system for the project.
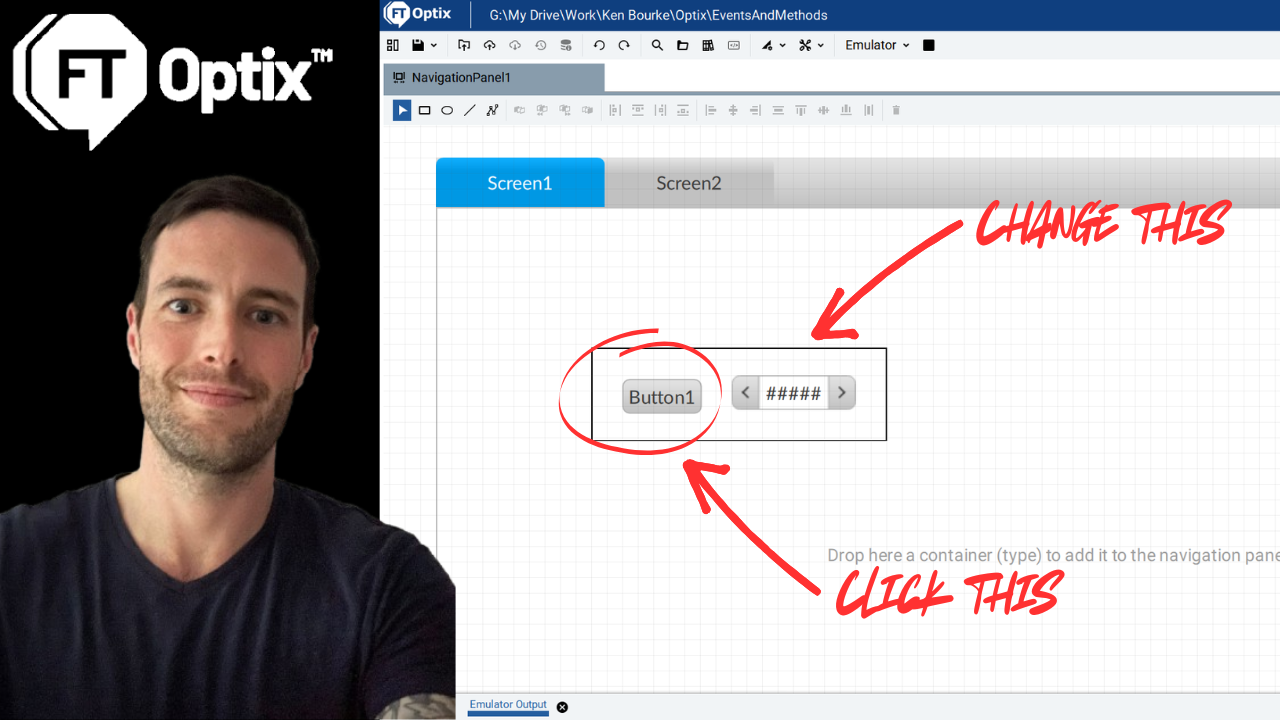
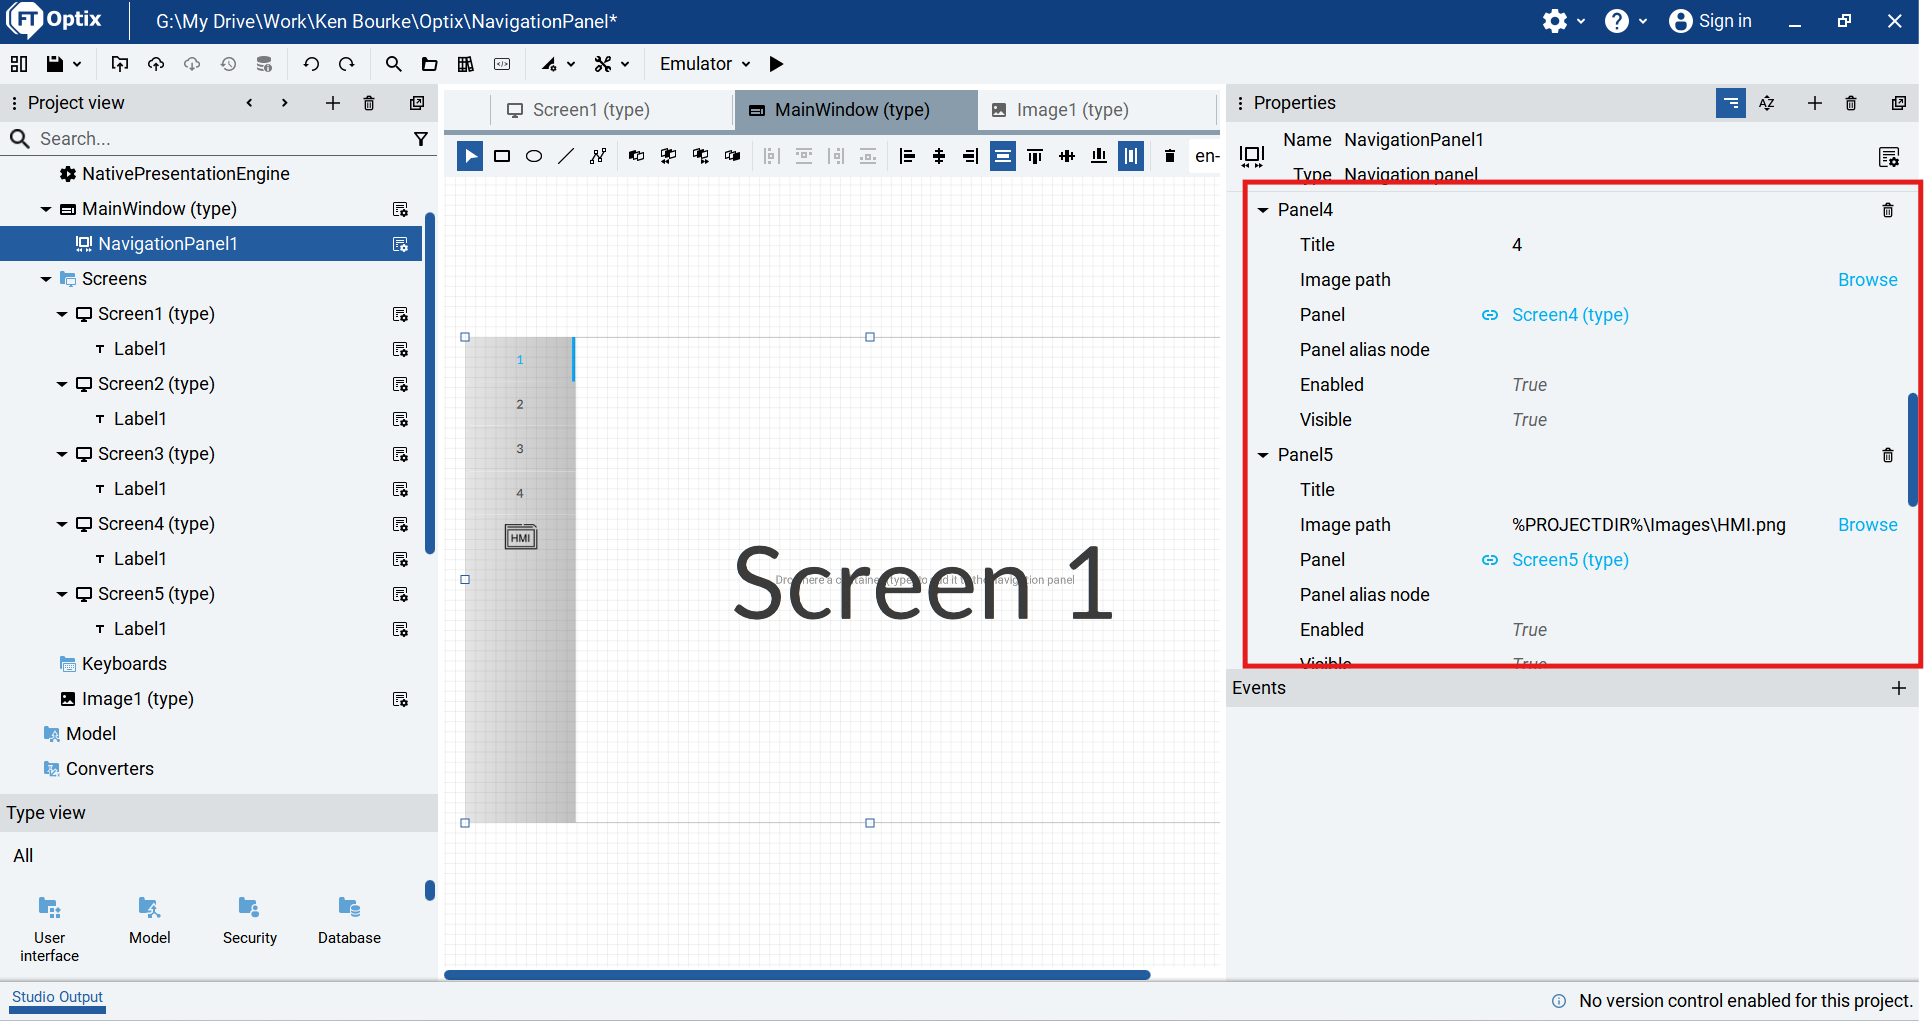
In the properties pane of the Navigation Panel, I customize the way these tabs appear in the Appearance section. Using these properties, I can change the position, style, width, and height of the tabs.
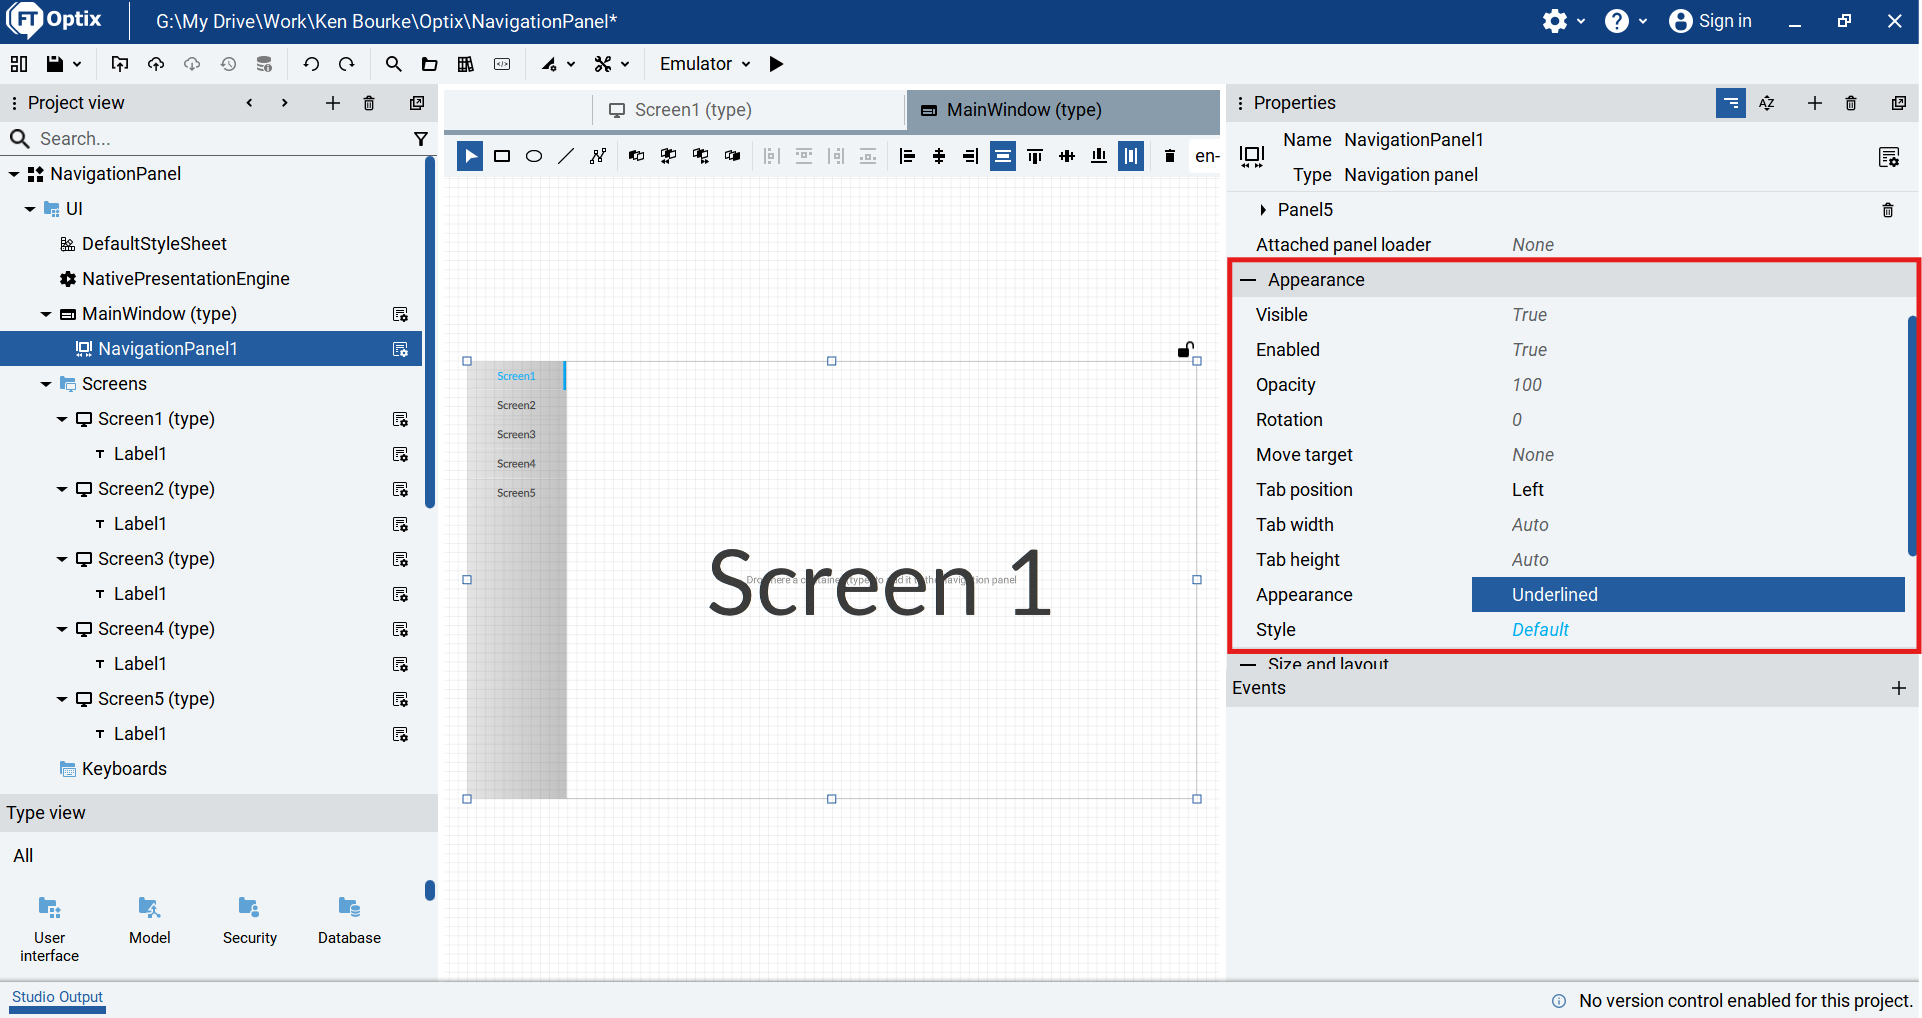
I can also customize the appearance of each tab in the Navigation Panel. Using these properties, I can set a title and image for the tab. If the title and image properties aren’t set, then the screen name is displayed in the tab by default.
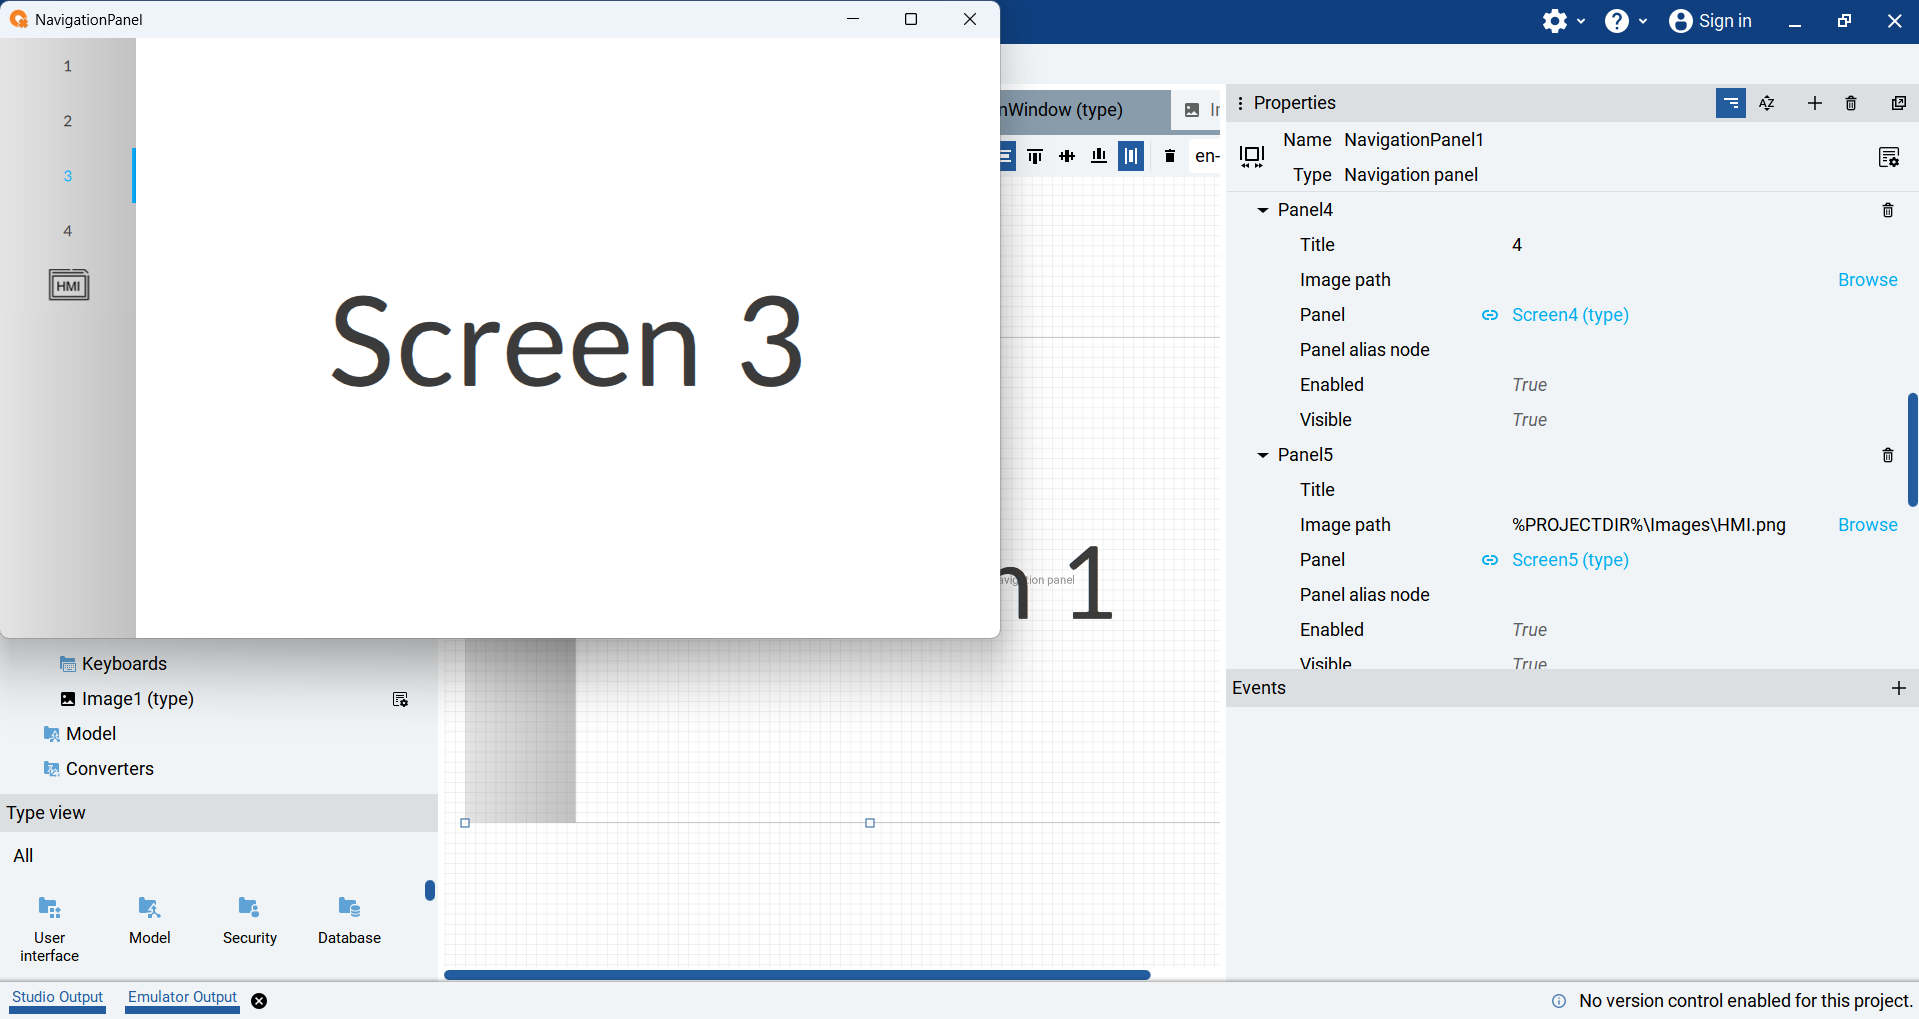
Now that my Navigation Panel is set up, I run the project using the emulator and verify that I can switch screens by clicking on the tabs that I have set up.
In this tutorial, I showed you the basics of setting up a Navigation Panel in FactoryTalk Optix.
In most applications, you will have situations where you want to disable or hide tabs to prevent specific users from accessing specific parts of the application. I’ll show you how you can do this using the Enabled and Visible properties in my next tutorial.
If you haven’t already, sign up to the email list to be notified when that tutorial is available.
Get new content delivered straight to your inbox:
.png)