
In FactoryTalk Optix, there are a few different ways to build a navigation system for your HMI applications.
Previously, I showed you how to implement a simple navigation system using a Panel Loader. If you missed it, you can find that tutorial here.
In this tutorial, I'll show you how to build a navigation system using a Navigation Panel. We'll also see how you can use the Navigation Panel's exposed methods to change screens with events and how to attach a Panel Loader to a Navigation Panel to navigate to screens not included in the Navigation Panel.
Let's get started.
In Optix I've created a new project and added three screens to the project.

In the MainWindow I add a navigation panel and set its Horizontal and Vertical Alignment to Stretch.

To add a screen to the Navigation Panel, I drag it from the project view tree and drop it on the Navigation Panel as shown here.
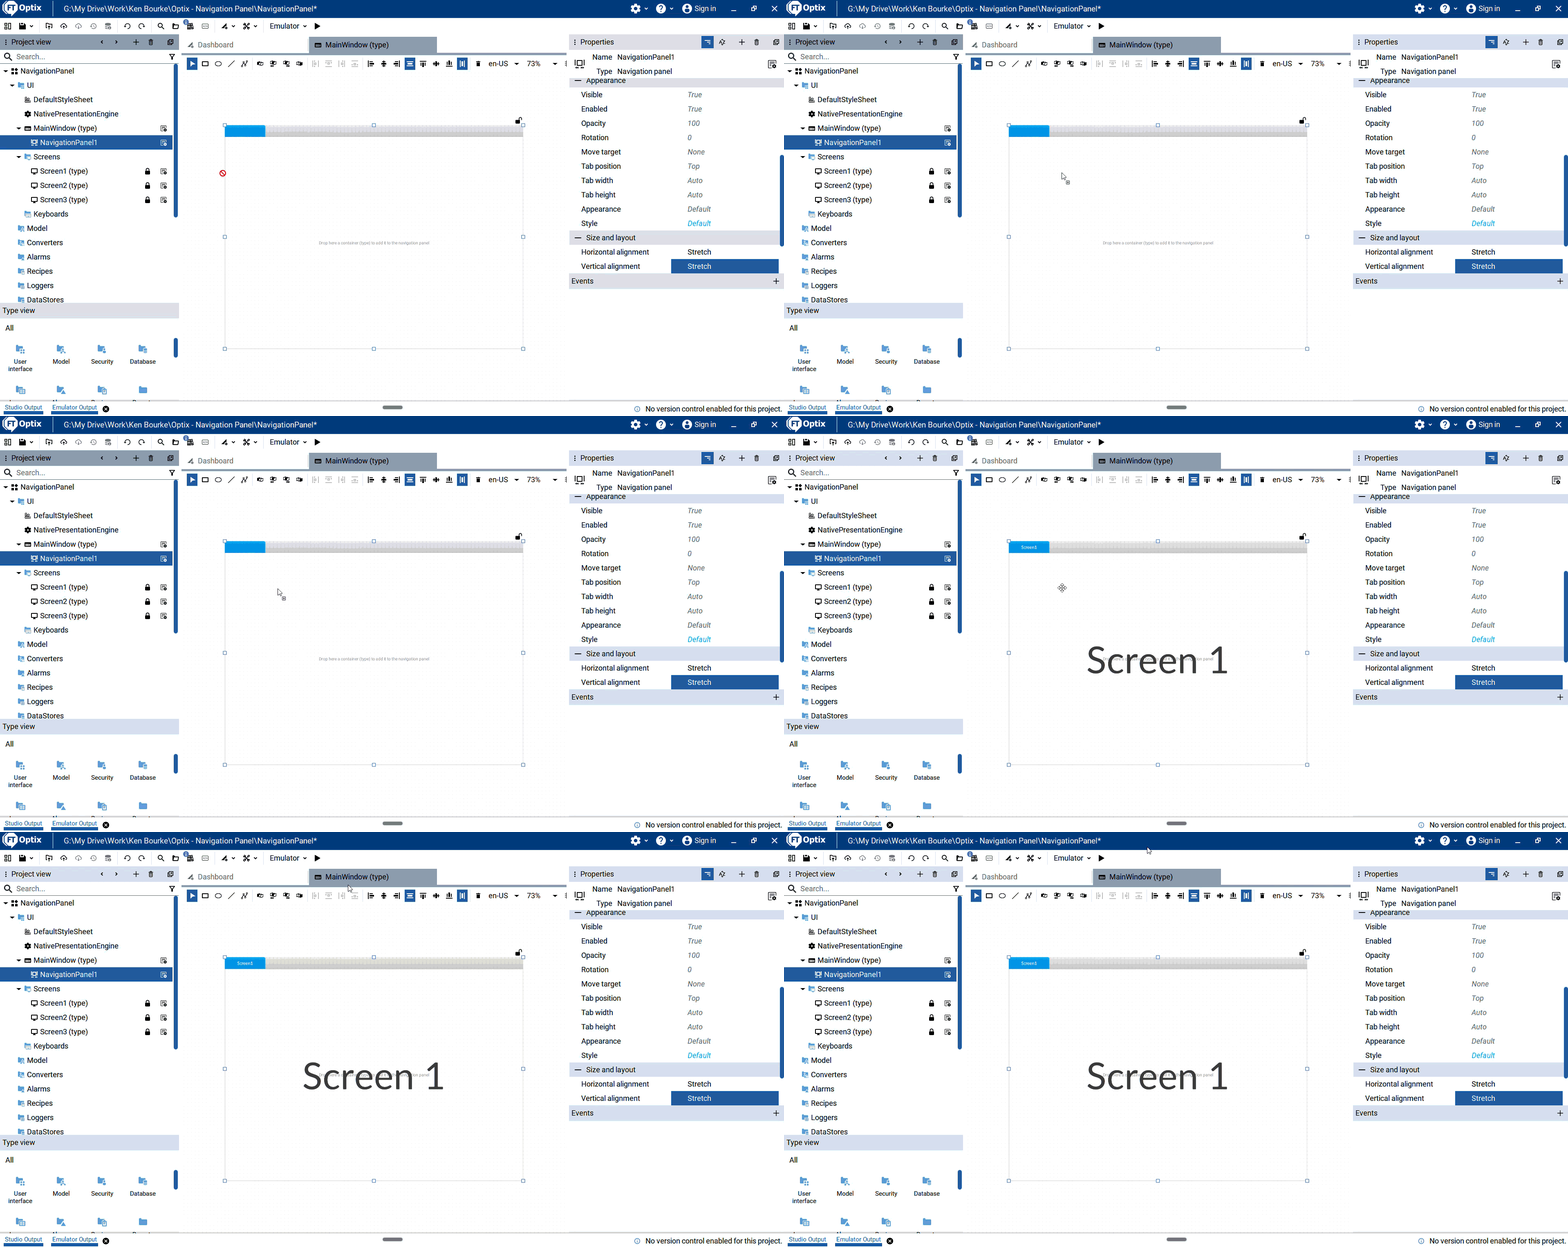
I repeat this process to add Screen 2 and Screen 3 to the Navigation Panel.
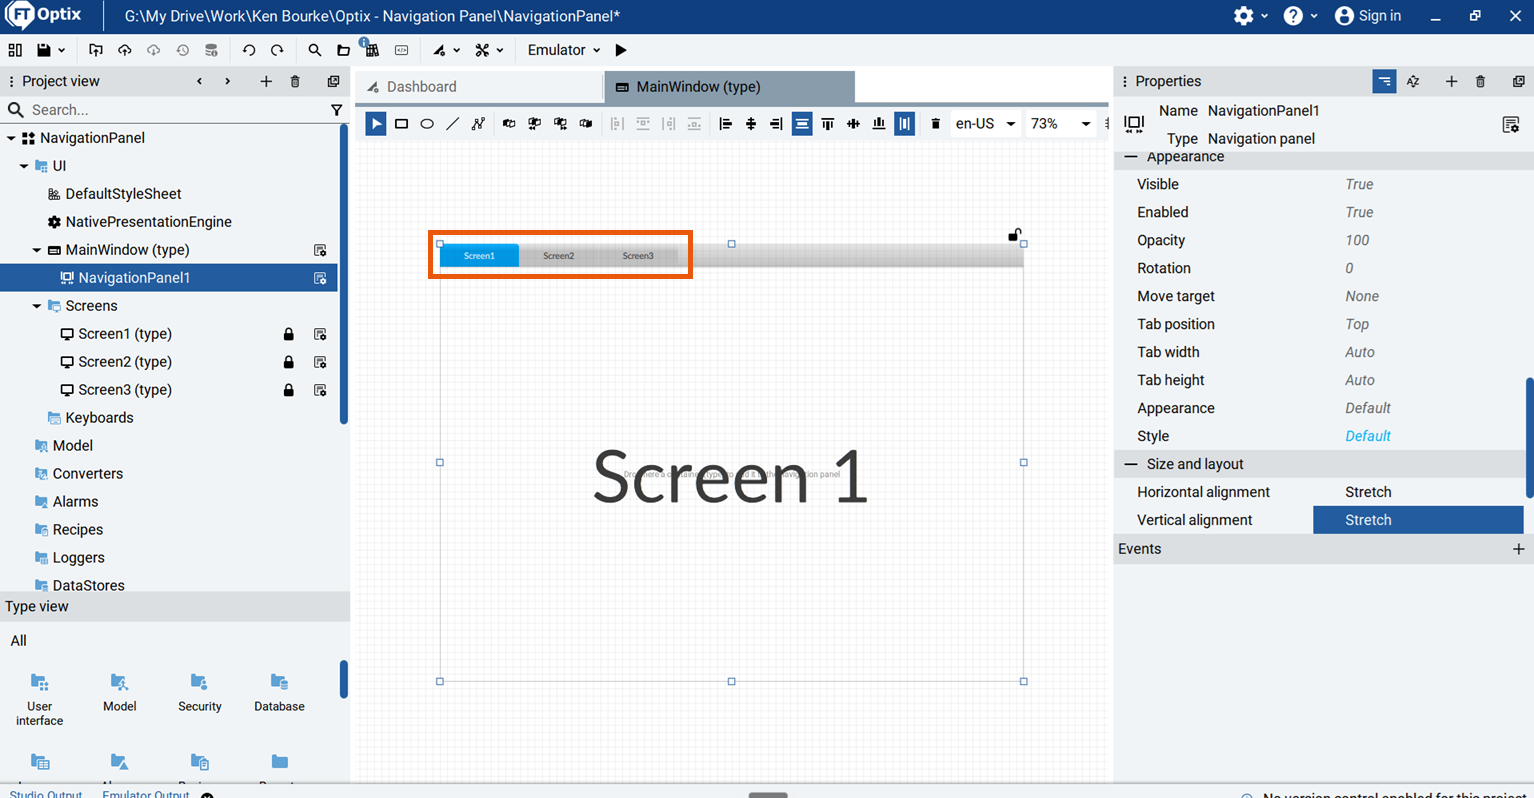
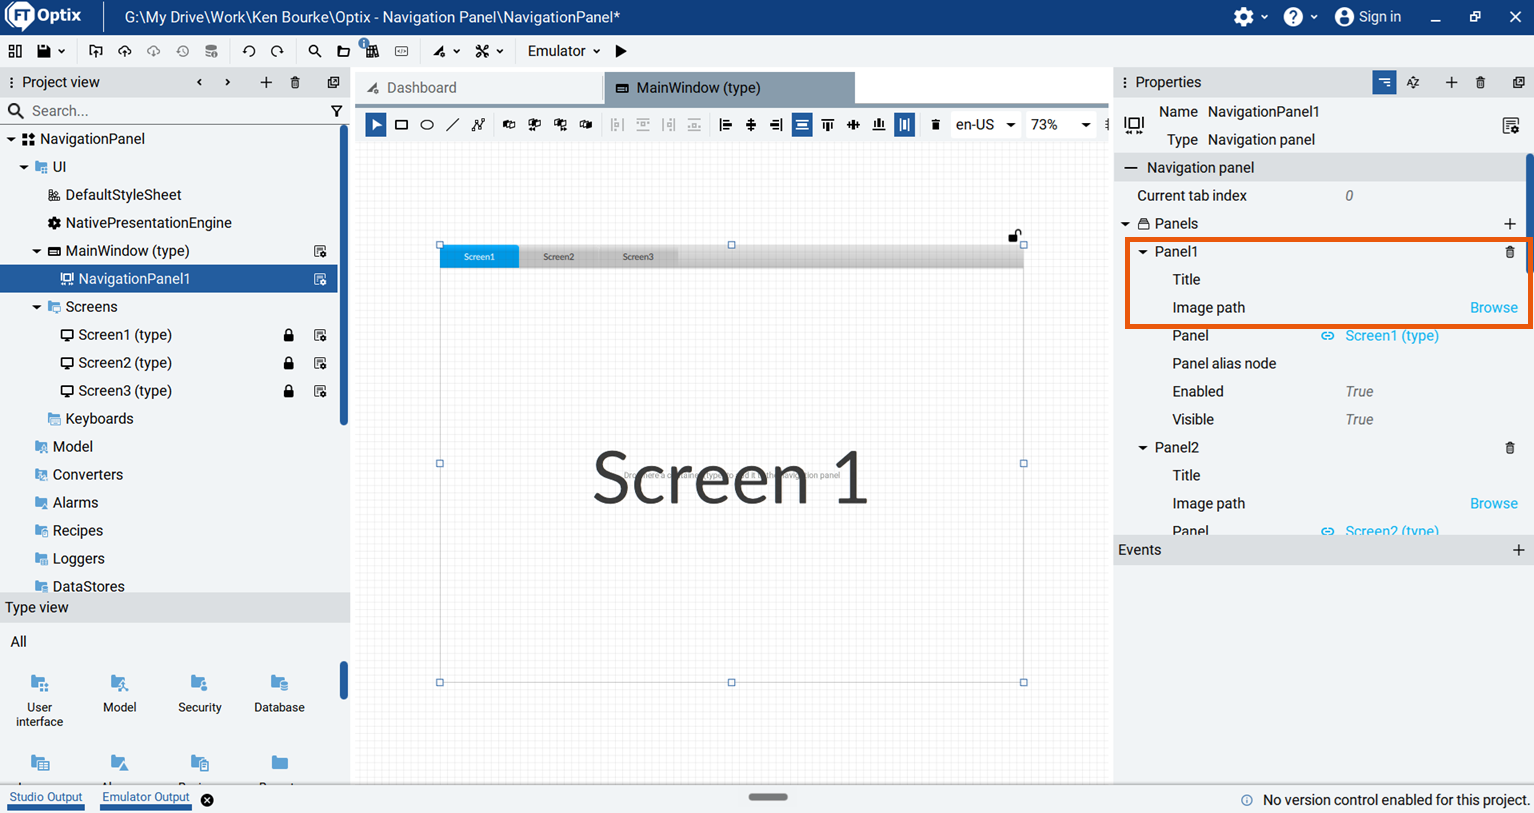
In the Navigation Panel's properties I can customize its appearance by adding a title and image to each panel and by changing the position and appearance of the tabs.

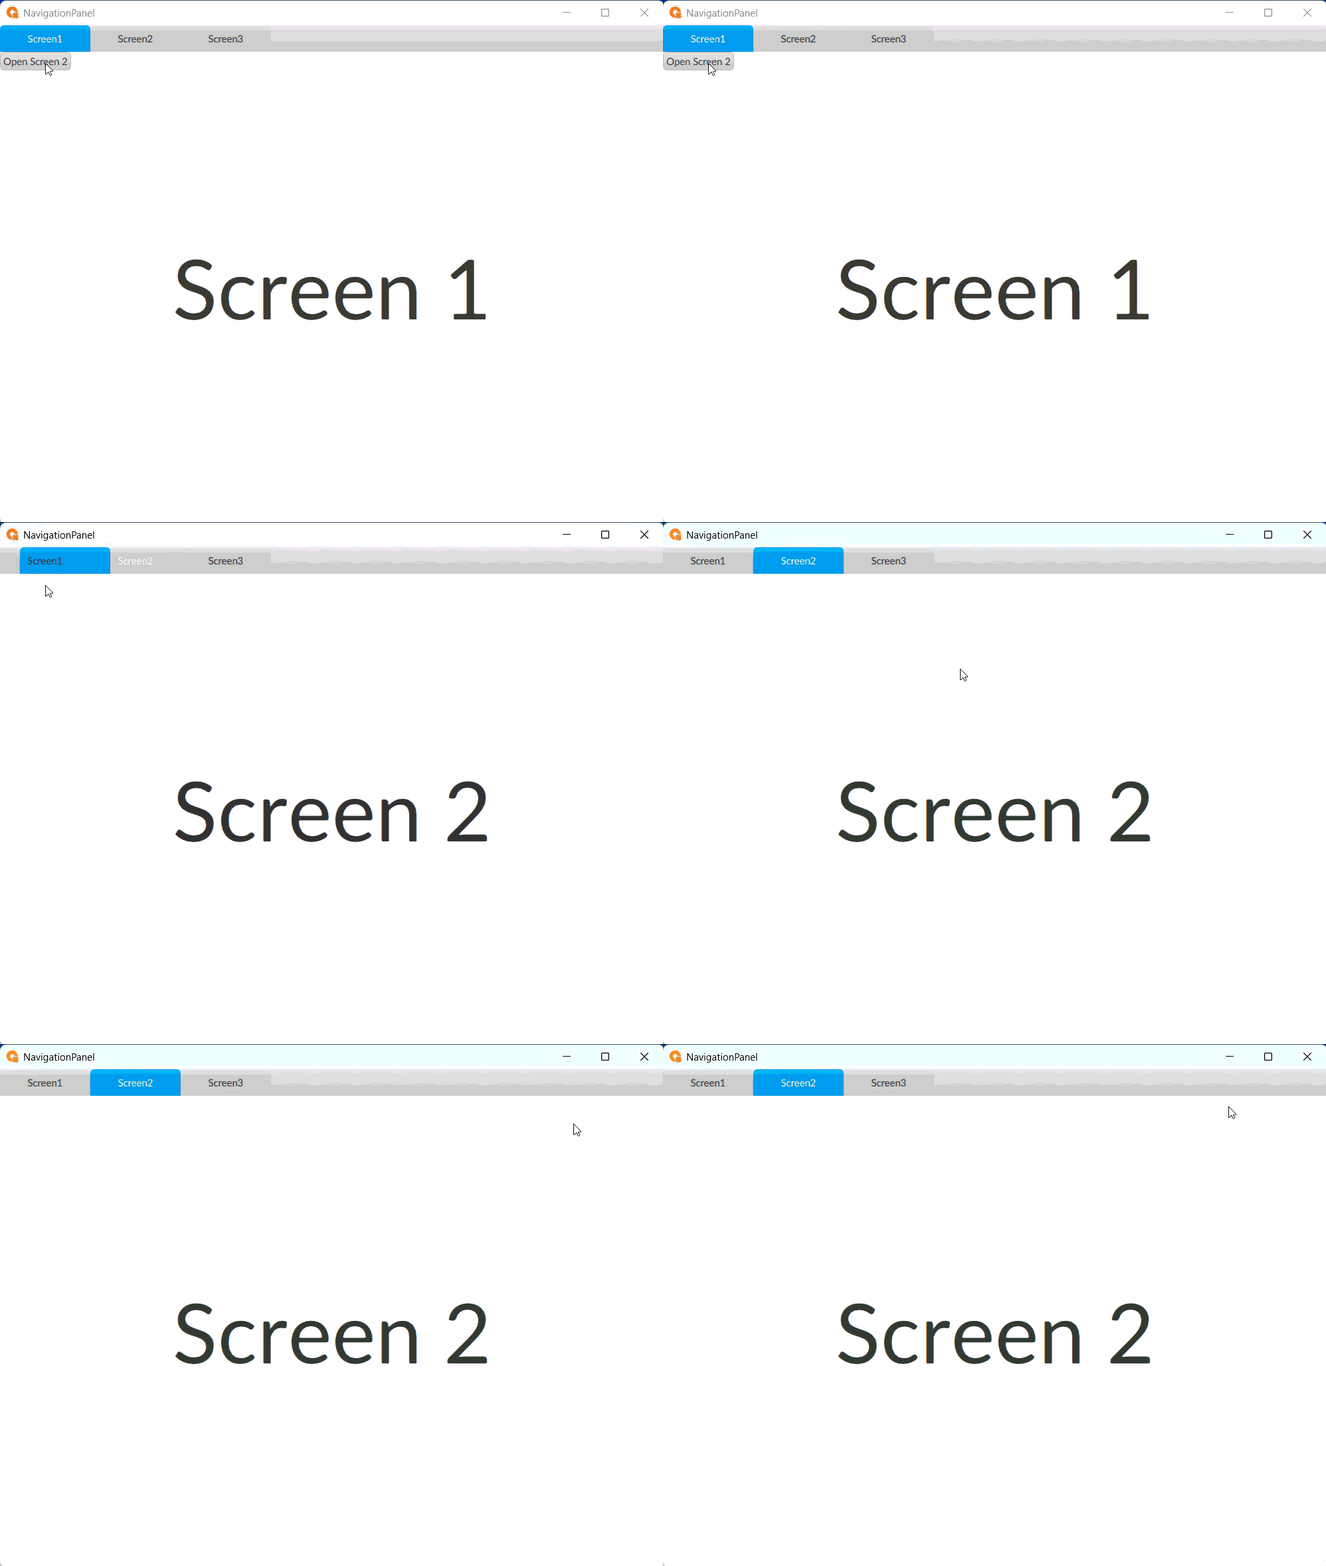
Next I run the emulator and verify that the navigation is working correctly.

As well as navigating with the nav bar, you can use events to call the methods that are exposed by the Navigation Panel to change the screen.
To do that I add a momentary button to Screen 1, then add an MouseClick event to the button and trigger either the change panel by tab name or change panel by tab index method of the Navigation Panel.

After calling the method I configure the input arguments for the method. In this case I set the index to one so that when the button is clicked Screen 2 opens.

Once again I run the emulator and verify that everything is working correctly.
Finally you can also attach a Panel Loader to a Navigation Panel. This is useful if you want to use buttons to navigate to screens that are not included in the nav bar of the Navigation Panel.
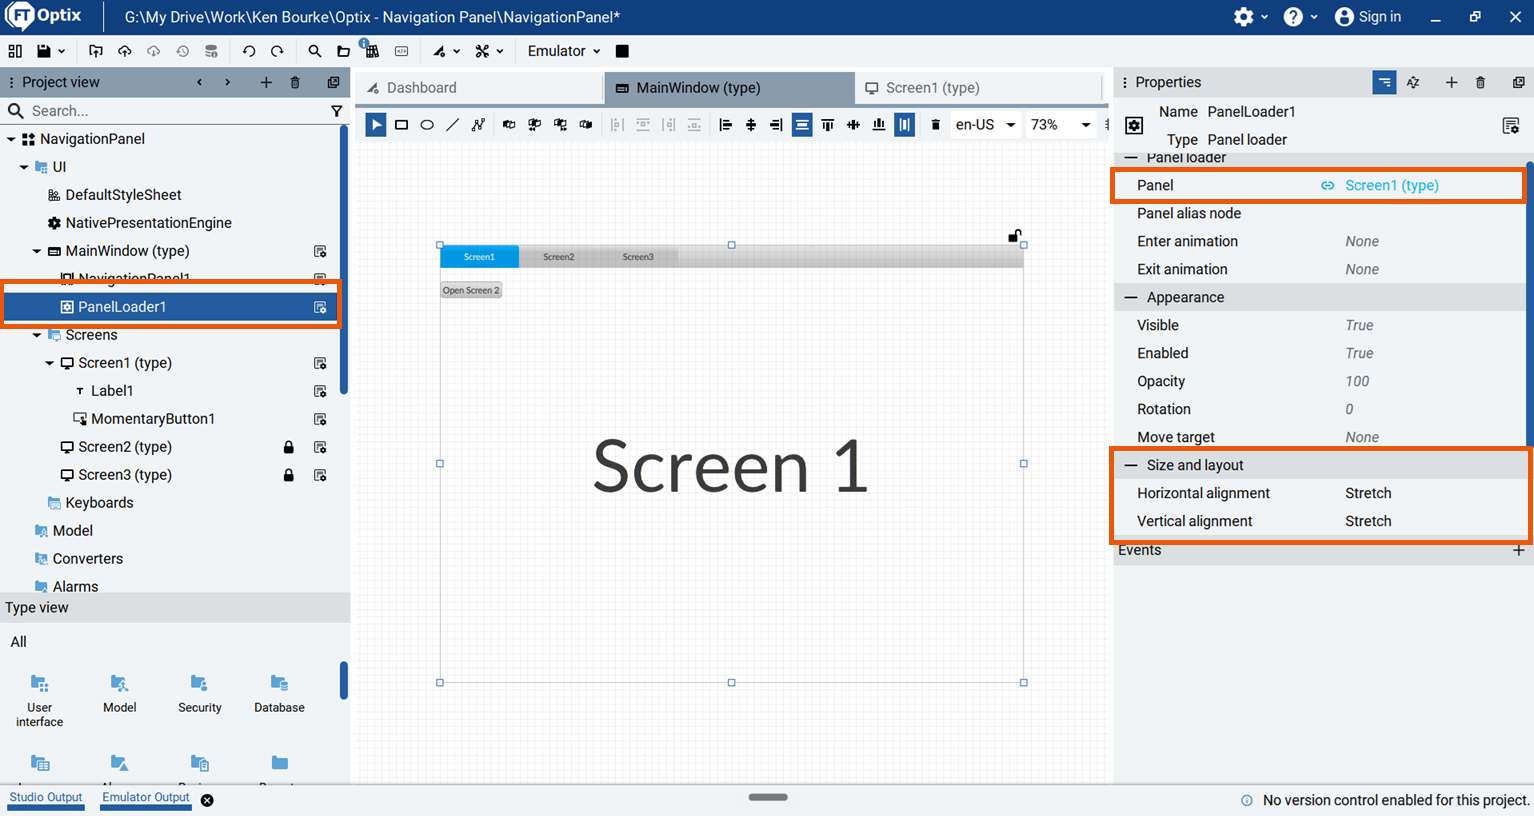
To do that I add a Panel Loader to the Main Window, set its Horizontal and Vertical Alignment to Stretch, and set a default panel to display in the Panel Loader.
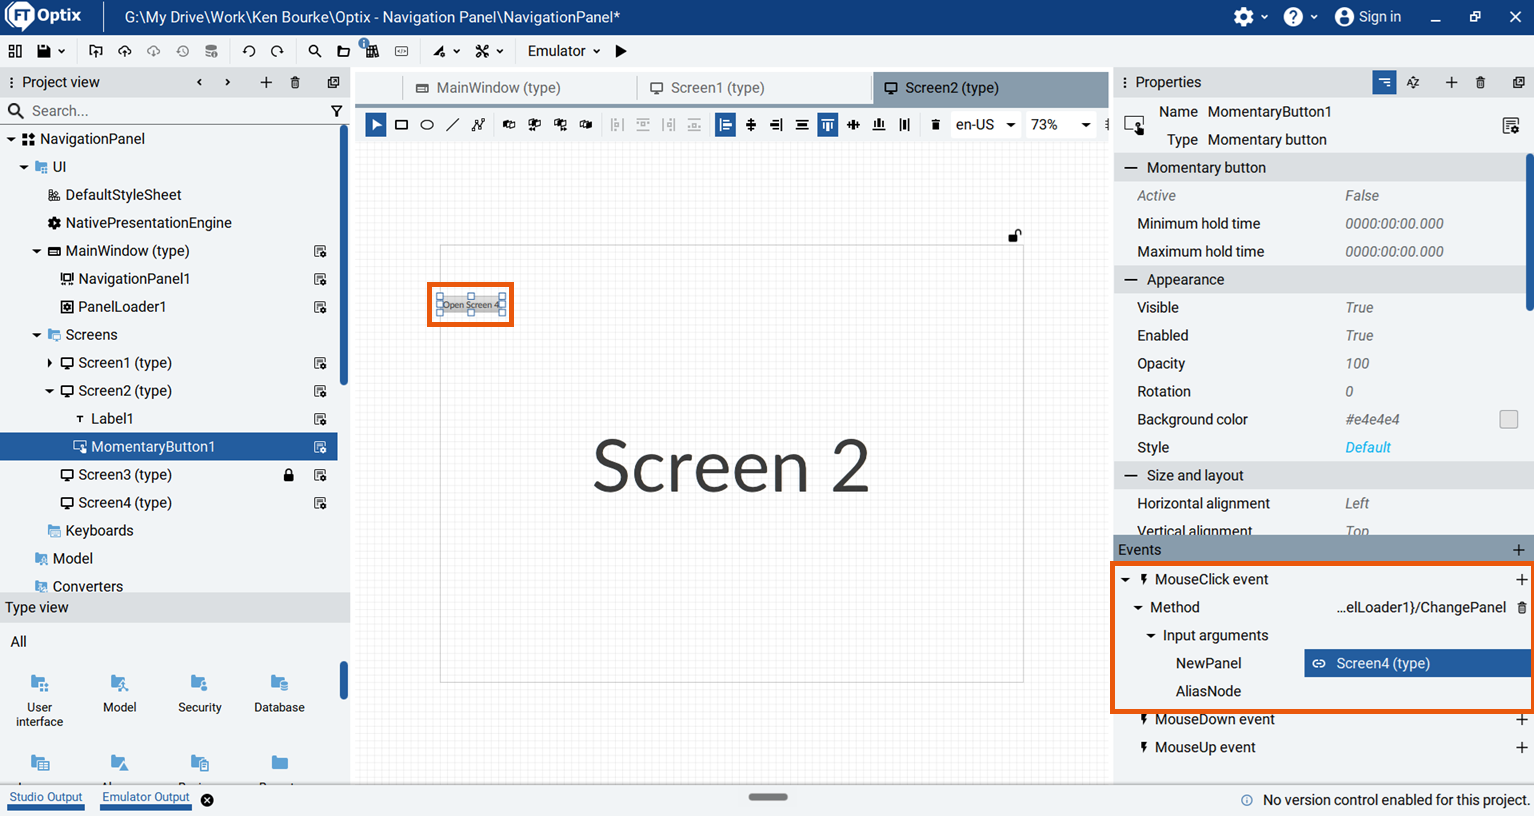
On Screen 2, I add a button and I use the mouse click event of this button to trigger the Change Panel method of the Panel Loader. I use that method to load a new screen, called Screen 4, that isn't available in the Navigation Panel's nav bar.
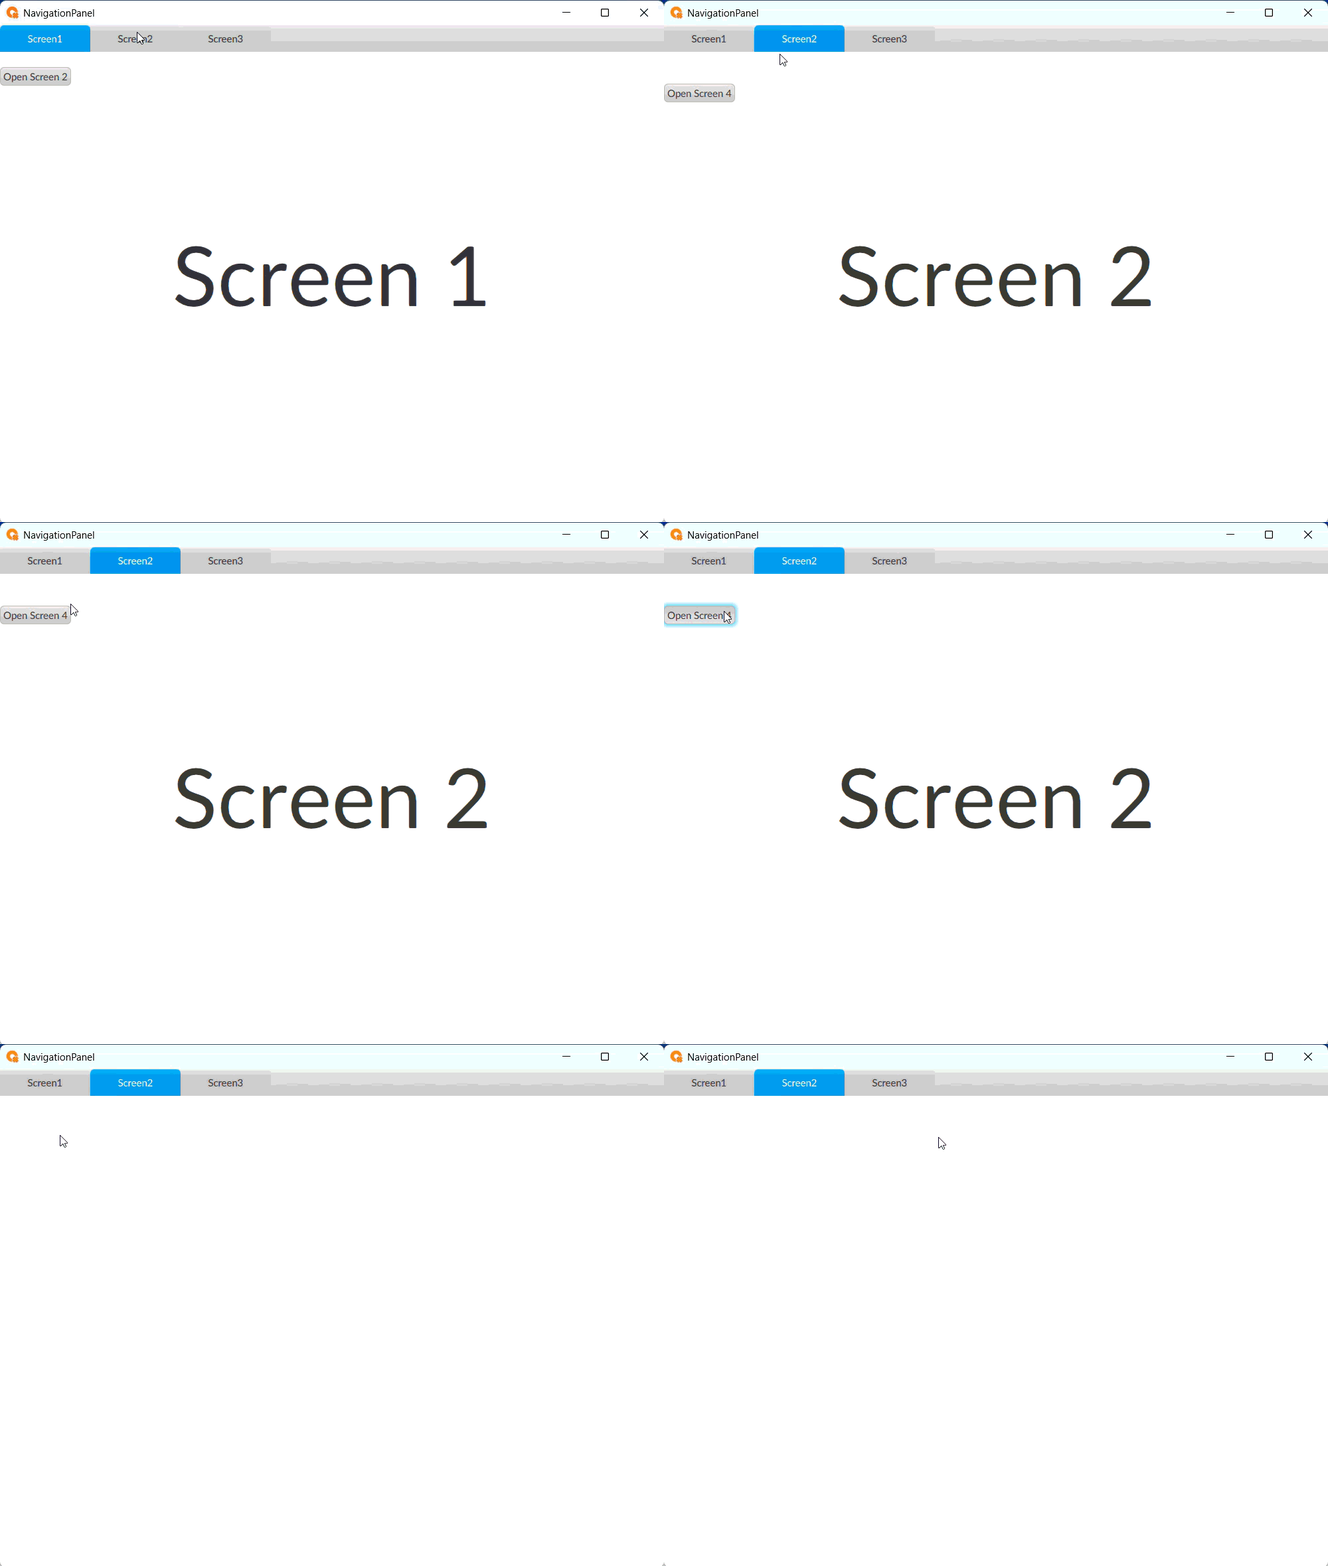
Once again I run the emulator and confirm that everything is working correctly.
In this tutorial you saw how you can use a Navigation Panel to easily build a nav bar for a FactoryTalk Optix application.
You also saw how you can navigate using events in the application using the methods that are exposed by the Navigation Panel, and how to attach a Panel Loader to a Navigation Panel to navigate to sub pages that aren't available on the nav bar.
The next tutorial will look at how alarms work in FactoryTalk Optix.
Saw how a Navigation Panel let's you easily build a navigation bar
Saw how you can still navigate with buttons in the application using exposed methods
Saw how to attache a panel loader to navigate to sub pages
Next tutorial: alarms
Get new content delivered straight to your inbox: