
In this tutorial, I'll take you through the process of building a navigation system in FactoryTalk Optix using both Navigation Panels and Panel Loaders.
You can get the code for this project here: https://github.com/ha-kbourke/FTOptix-NavigationDemo
Now, let’s get started by looking at the base project that I’m working with.
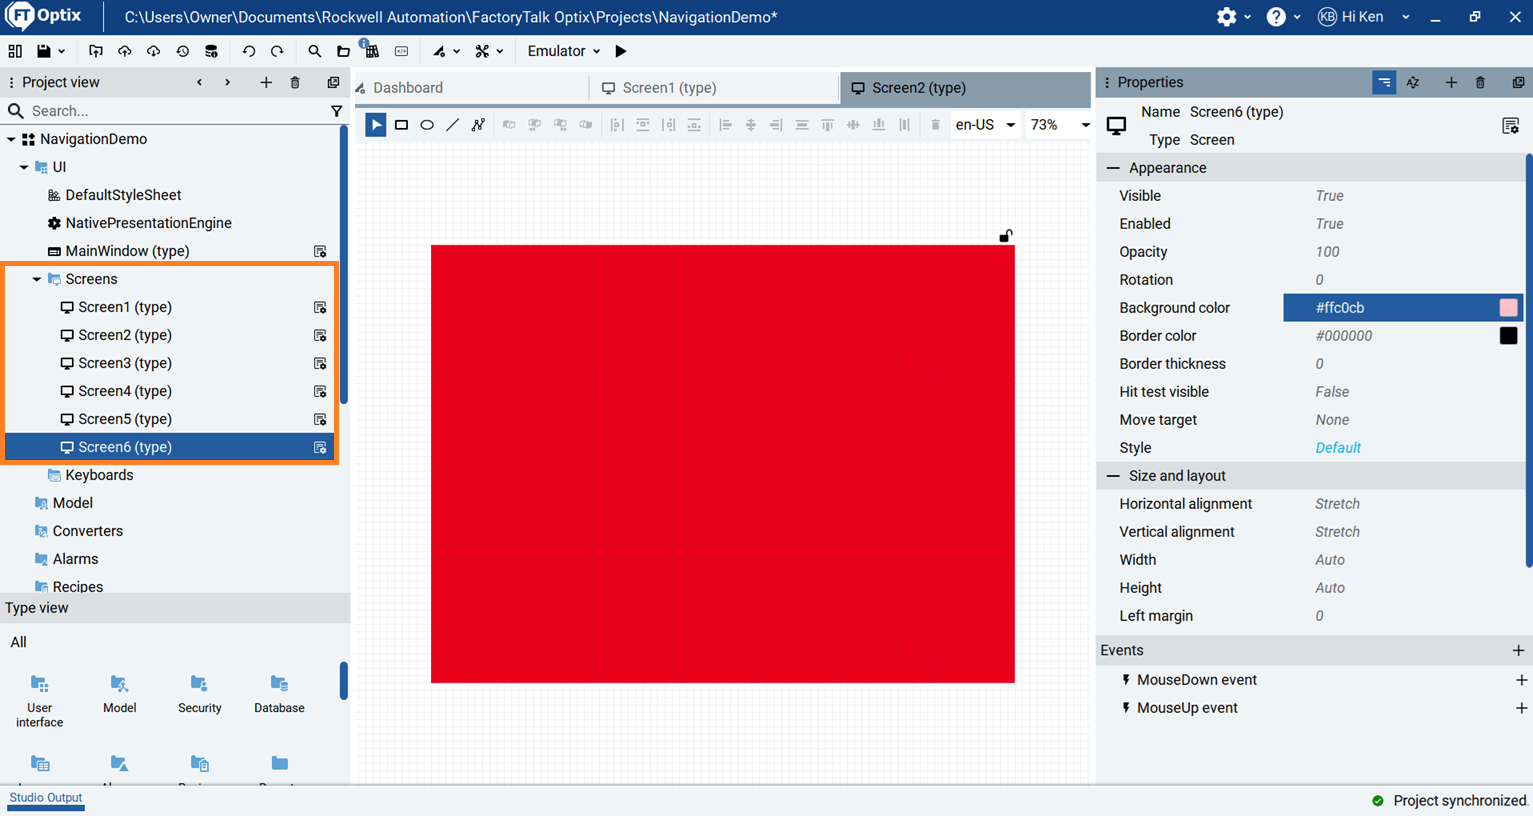
For this tutorial, I have created a new FactoryTalk Optix project and added six screens to the project. Each screen has a rectangle with a different background colour to make it distinctive.
On the MainWindow, I have added a header with a Horizontal Layout. For now, there is just a label in there, but we’ll be populating it with controls later on.
.png)
Finally, I have uploaded some icons to the project that we will use with the Navigation Panel.
.png)
Let’s start by adding a Navigation Panel to the MainWindow. To do that, I right-click on the MainWindow and select New > Containers > Navigation Panel.
.png)
Once added, I configure the Horizontal Alignment, Vertical Alignment, and Top Margin properties of the Navigation Panel.
.png)
To add Screens to the Navigation Panel, I can drag them from the Project View tree and drop them on the Navigation Panel. As each screen is added, a new tab is created for it in the Navigation Panel.
Now when I run the project, I can use the tabs to navigate between screens.
You should notice here that the content on the MainWindow is always visible. That’s because an Optix project compiles to a single window application where the MainWindow is always visible and you load new content on the MainWindow by navigating between screens.
A screen automatically resizes to occupy the space available in its parent container.
By default, each tab on the Navigation Panel displays the name of the Screen that it is linked to.
You can override this default in the Navigation Panel’s properties by defining a Title and Image for the tab.
If both a Title and Image are set, then they are displayed in the tab.
.png)
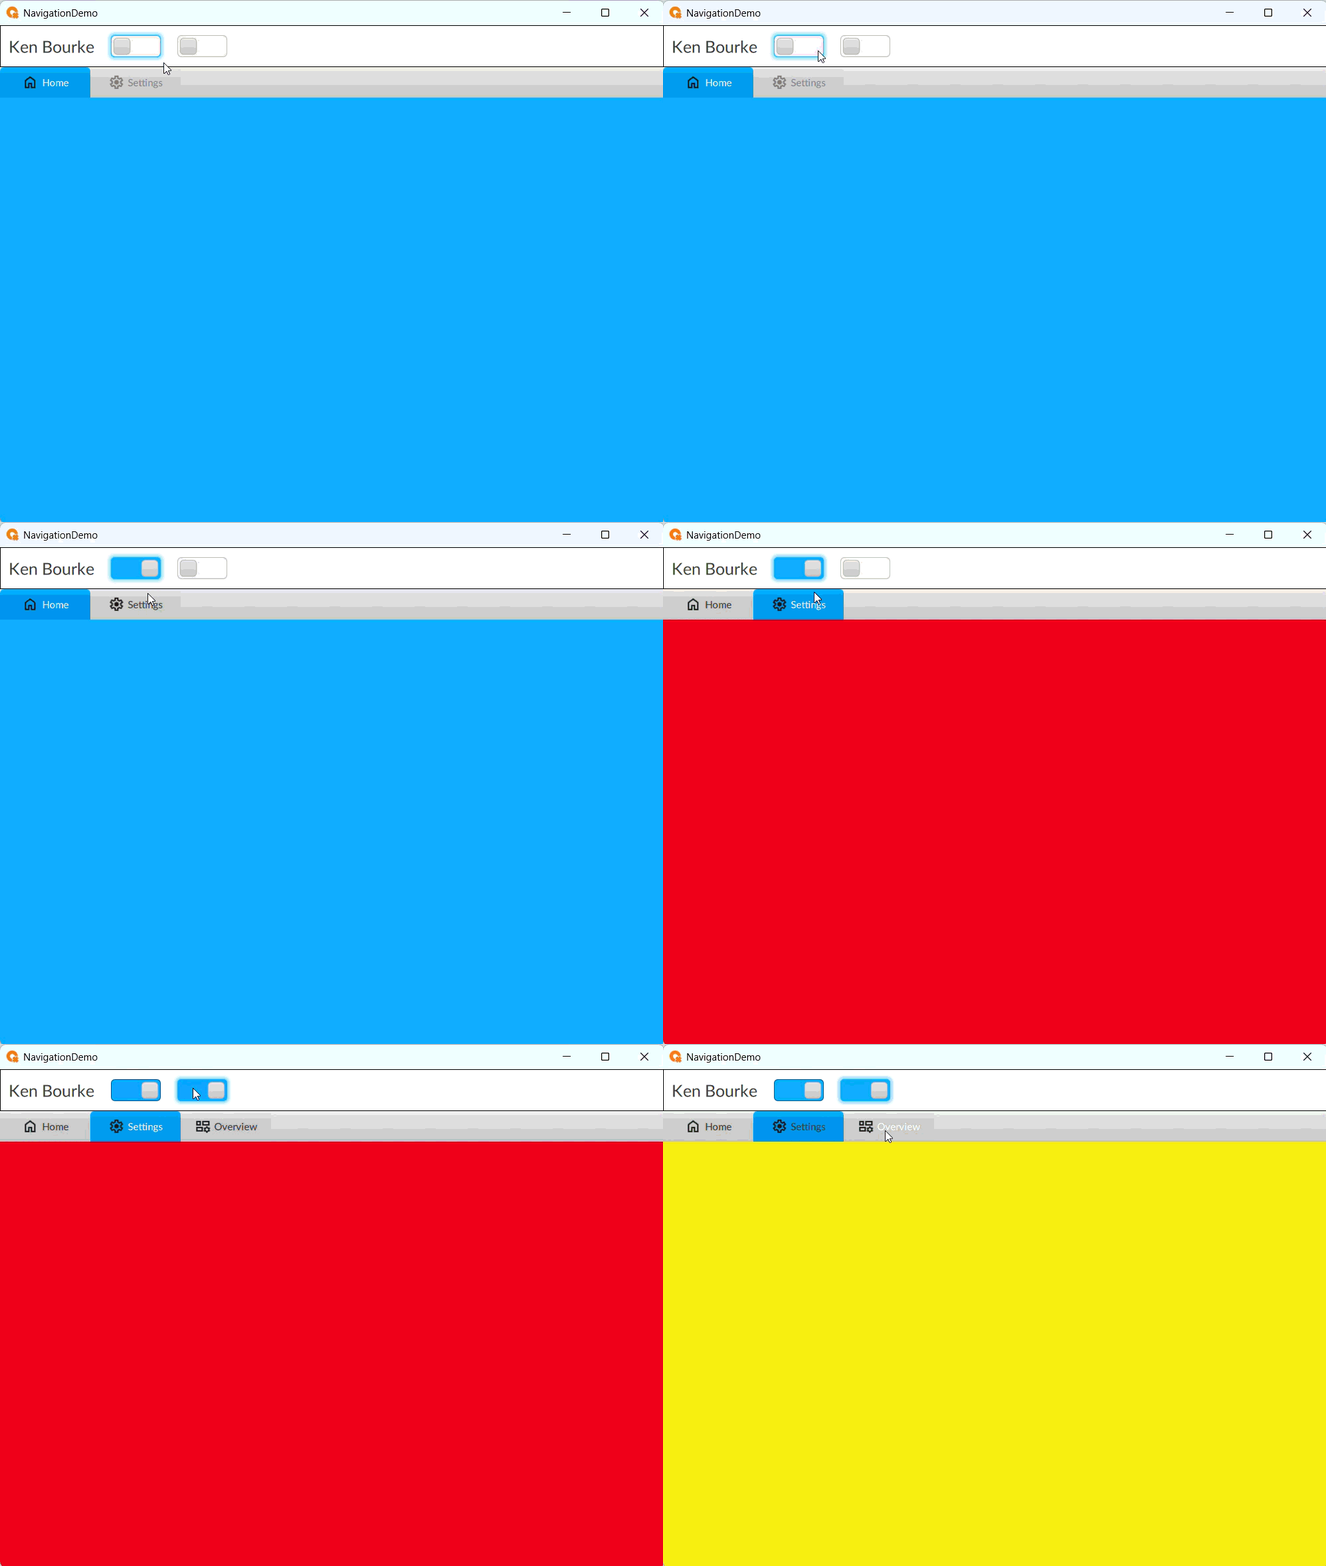
You can also dynamically disable and hide the tabs of a Navigation Panel by using the Enabled and Visible properties.
In this case, I have added two switches to the Header to demonstrate this.
.png)
Now when I run the project, I can dynamically enable the Settings tab and display the Overview tab.
In the Properties for the Navigation Panel, you can also customize the way the Navigation Panel’s ribbon appears. Specifically, you can control the position of the ribbon, the width and height of each tab, and the appearance of the tabs.
If you want, you can further customize the appearance of the Navigation Panel by modifying its stylesheet, but that’s a bit out of the scope of this tutorial.
.png)
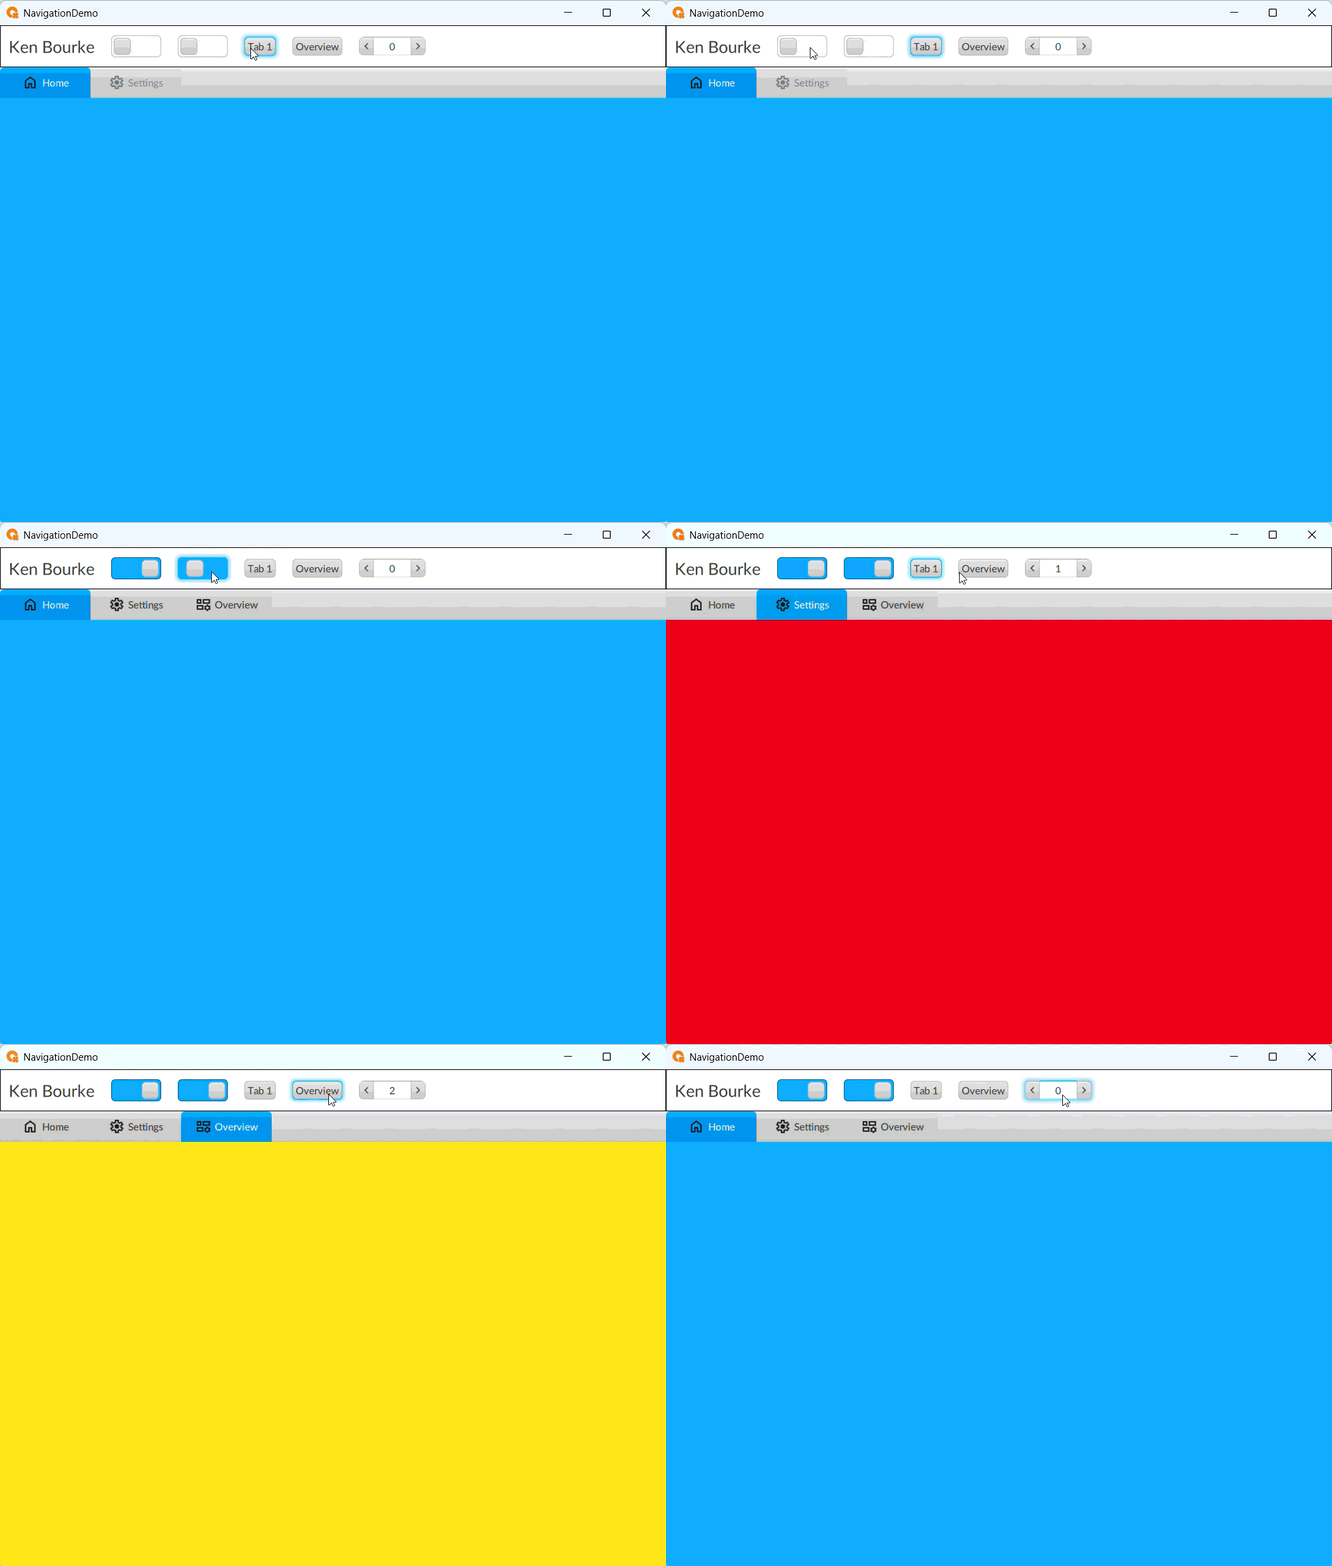
A Navigation Panel also exposes properties and methods that can be used to navigate between screens when an event occurs.
The ChangePanelByTabIndex method lets you navigate to a specific panel using an index.
.png)
The ChangePanelByTabName method lets you navigate to a specific panel using the browse name of a panel.
.png)
Finally, the CurrentTabIndex property let’s you display and modify the current tab being displayed.
.png)
At runtime, these methods can only be used to navigate to panels that are enabled and visible, and as you move between panels, the navigation bar updates to reflect the currently visible panel.
Another way to do navigation in Optix is by using a Panel Loader. This is similar to using Go To Display buttons in FactoryTalk View.
In my project, I add a container for navigation buttons, navigation buttons and a Panel Loader to Screen 3.
.png)
The Panel Loader exposes a Change Panel method that can be used to change the panel being displayed in the Panel Loader when an event occurs. In this case, I call that method when either navigation button is clicked.
.png)
In the Panel Loader’s properties, you can also set a default panel to be displayed when the Panel Loader is rendered on a screen.
.png)
At runtime, I can click either of my navigation buttons to load different screens in the Panel Loader.
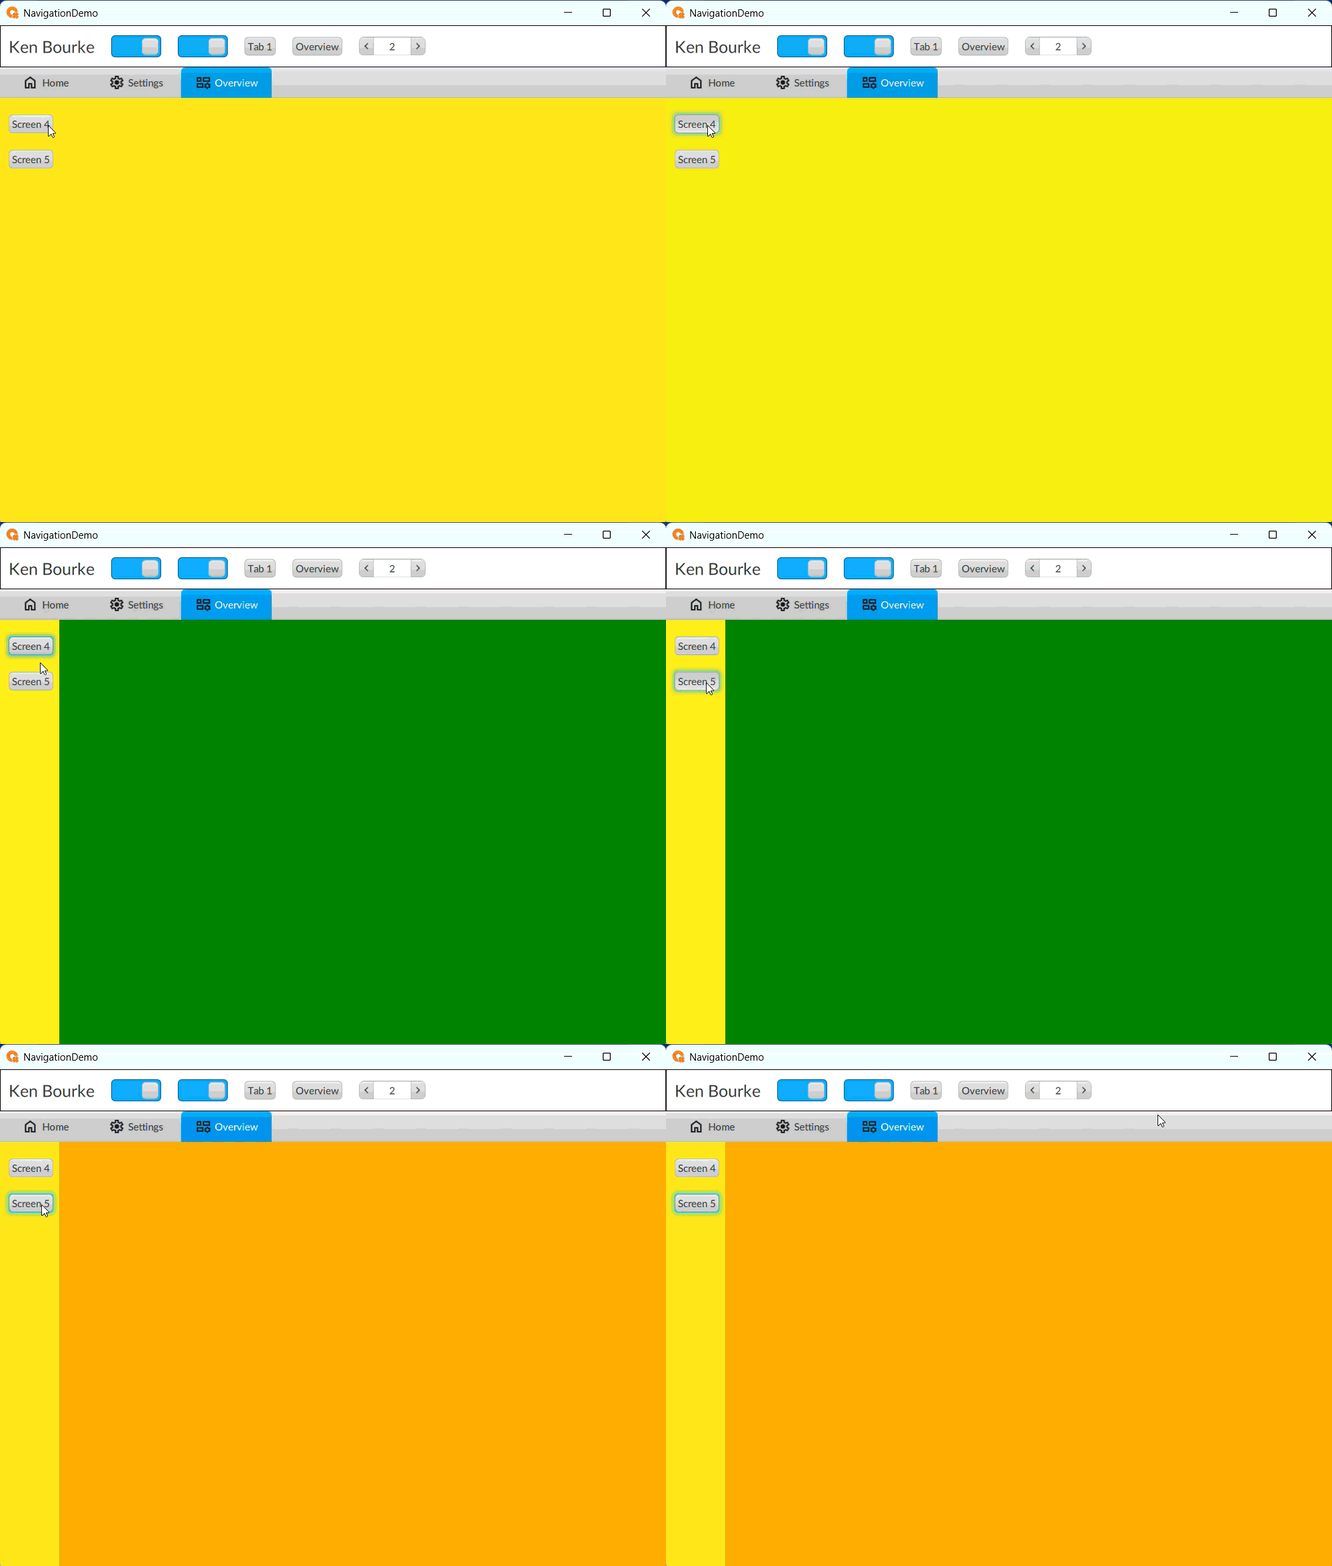
As you can see, you can nest navigation controls to create complex navigation systems.
You can also attach a Panel Loader to a Navigation Panel to display screens on the Navigation Panel that are not accessible through the navigation bar.
In this case, I add a Panel Loader to the MainWindow and link it to the Panel Loader using its Attached Panel Loader property.
.png)
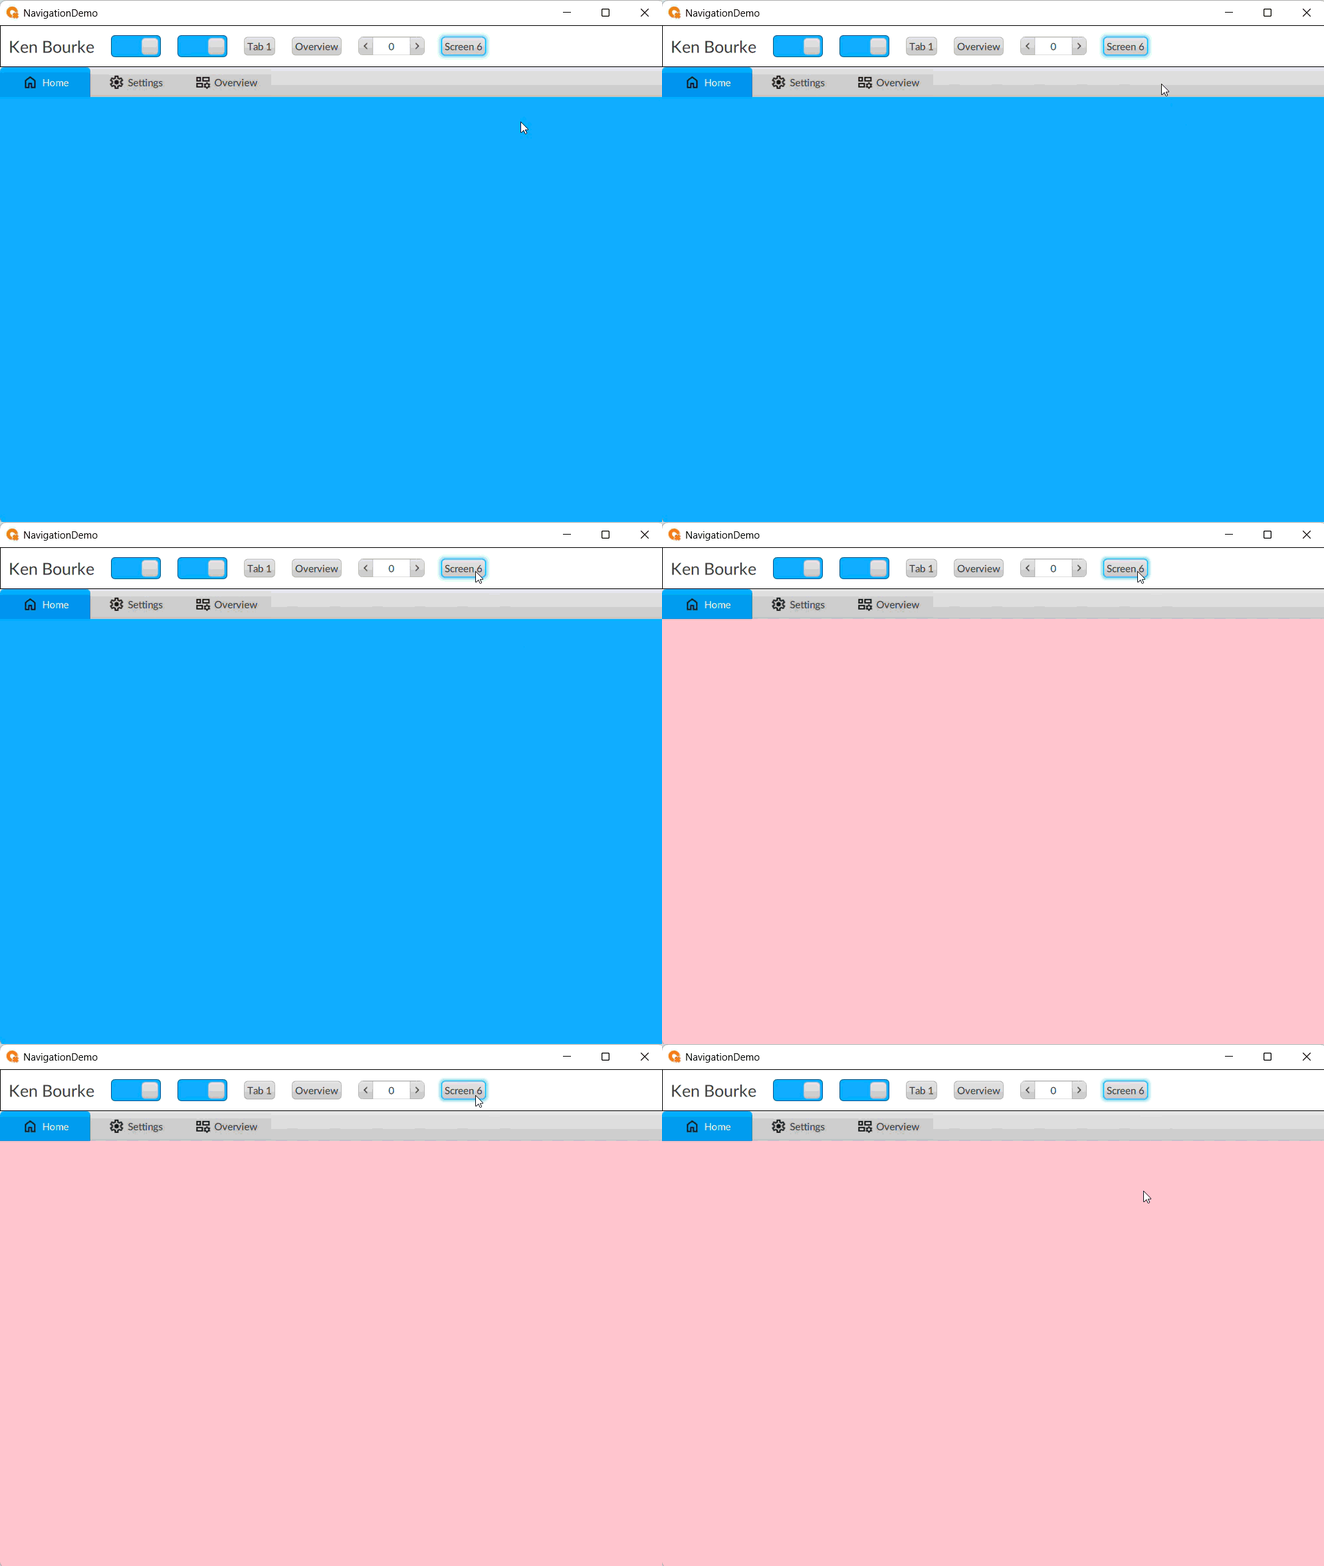
Then I add a button to the header that calls the Change Panel method of the Panel Loader and loads Screen 6, which is not accessible via that navigation bar.
.png)
Now at runtime, I can access a Screen that is not available in the navigation bar.
Now you know how to build complex navigation systems in FactoryTalk Optix using Navigation Panels and Panel Loaders.
Next up, we’ll be talking about alarms - make sure to subscribe to be notified when that one is ready.
Get new content delivered straight to your inbox: