
Application Code Manager: Work with IO Modules
Learn how to add I/O modules to a project in Application Code Manager.
Studio 5000 Application Code Manager
Learn how to add I/O modules to a project in Application Code Manager.
Get new content delivered to your inbox every month.
No spam, unsubscribe anytime.
In the previous part of this series, I showed you how to set up your first project in Application Code Manager. If you missed it, you can find that part here:
https://www.kenbourke.me/posts/acm-up-and-running
In this part, I will show you how to add I/O modules to a PLC in an Application Code Manager project.
Let’s start by registering the required Device Libraries.
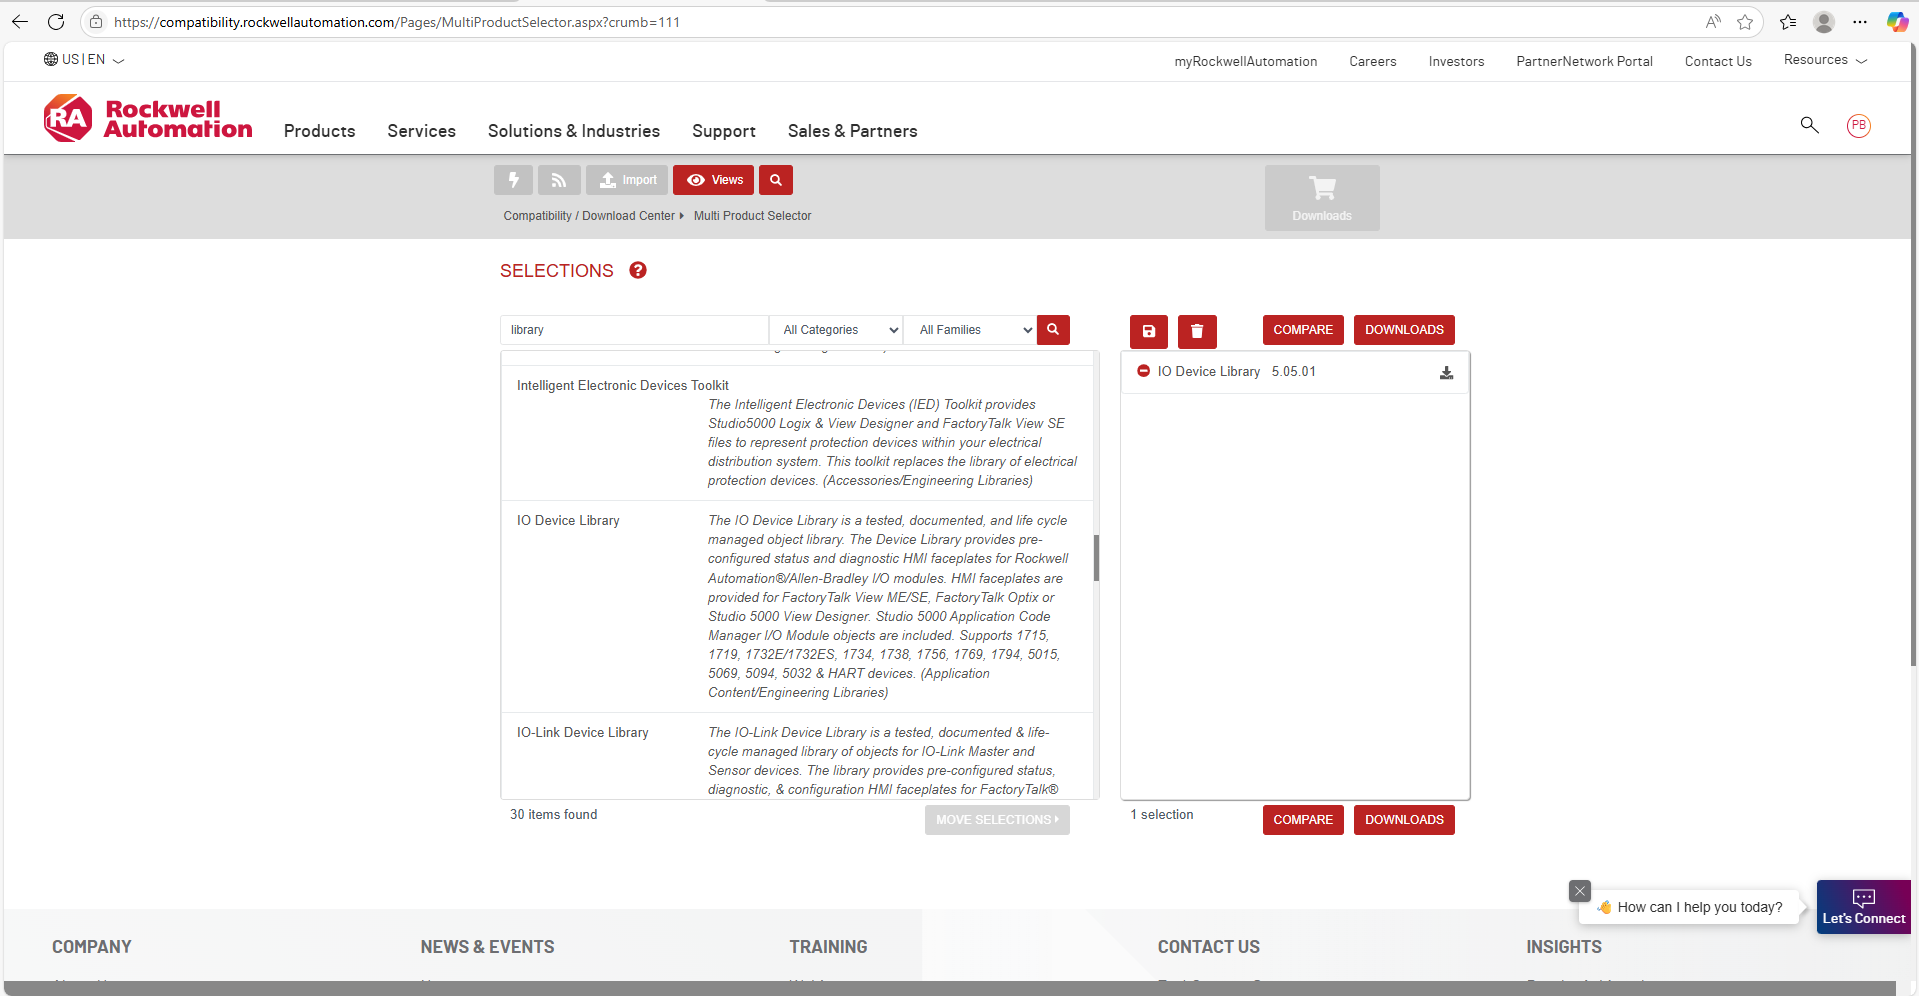
To add an I/O module to a controller in Application Code Manager, you will need to register the IO Device Library on your computer.
You can download this Device Object Library from the Rockwell Product Compatibility and Download Center for free - simply search for “IO Device Library” and follow the steps to download the files.
Once the download has finished, open the folder that contains the downloaded files and extract them. The default location is C:\RA.
The extracted folder contains all of the content for the Device Object Library including Logix Designer code, HMI faceplates for different platforms, application examples, how-to videos, and ACM files.
For now, all we have to do is register the Device Object Library on our computer by running the Setup.cmd file.
The script runs and registers the libraries on your computer.
.png)
Now that the I/O Device Library is registered, we can use it in Application Code Manager.
In Application Code Manager, you can add a local I/O module to a controller by:
.png)
In the Object Configuration Window that opens, you can select the module that you want to add. Modules are arranged by category and you can use the search bar to search for a specific module.
In this example, we will add a 1756-IF8I module to the controller by:
.png)
In the Next screen, you can configure the module’s parameters.
In this case, I have updated the channel descriptions to show that I have one flow meter connected to the module and the other channels are spare. I could also configure other settings for the module including input range, RPI, and the slot where it is installed.
.png)
Click Finish to create the module. You will see that it has been added to the tree. I can double-click on this module at any time to make changes to it.
.png)
To create the Logix Designer project from this ACM project, I right-click on the controller and select Generate Controller.
.png)
In the Logix Code Generation dialog, I enable the Overwrite Existing and Create ACD options and click Generate.
Once the process has finished, I open the containing folder and open the Logix Designer project.
As you can see here, the project contains the IO module that we configured in ACM. On a large project, you can imagine how much time you could save by configuring IO modules in ACM instead of Studio 5000 Logix Designer.
.png)
In this tutorial, you learned how to:
In the next part of the series, we will see how to use faceplates from a Device Object Library in FactoryTalk Optix to quickly build ISA 101 compliant HMI applications.